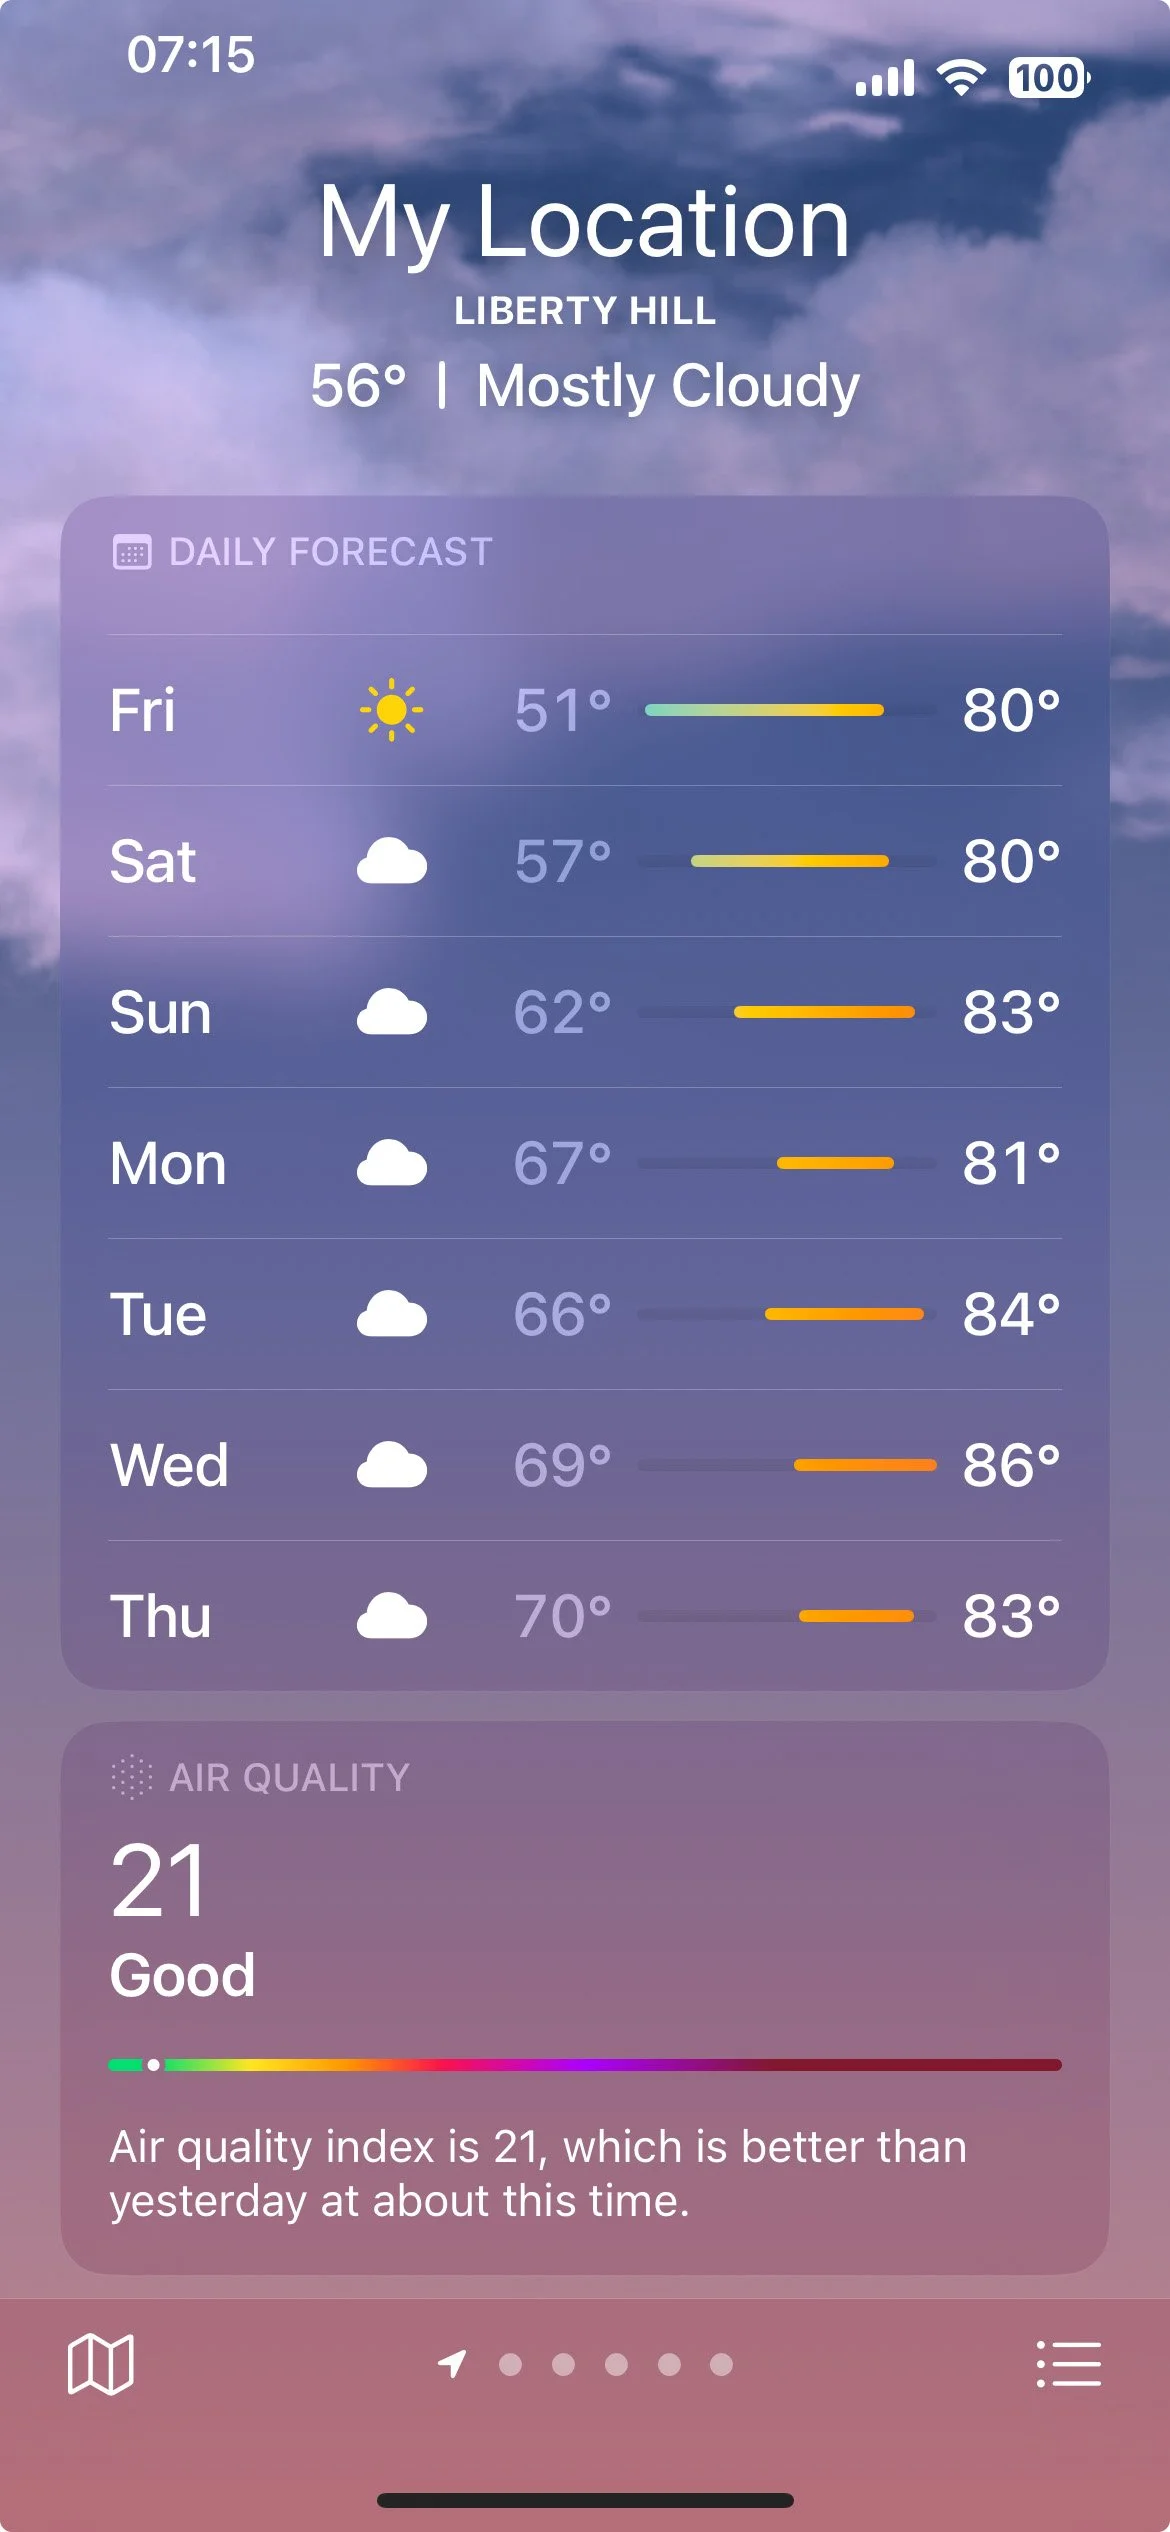
Photos from our backyard (April 8, 2024)
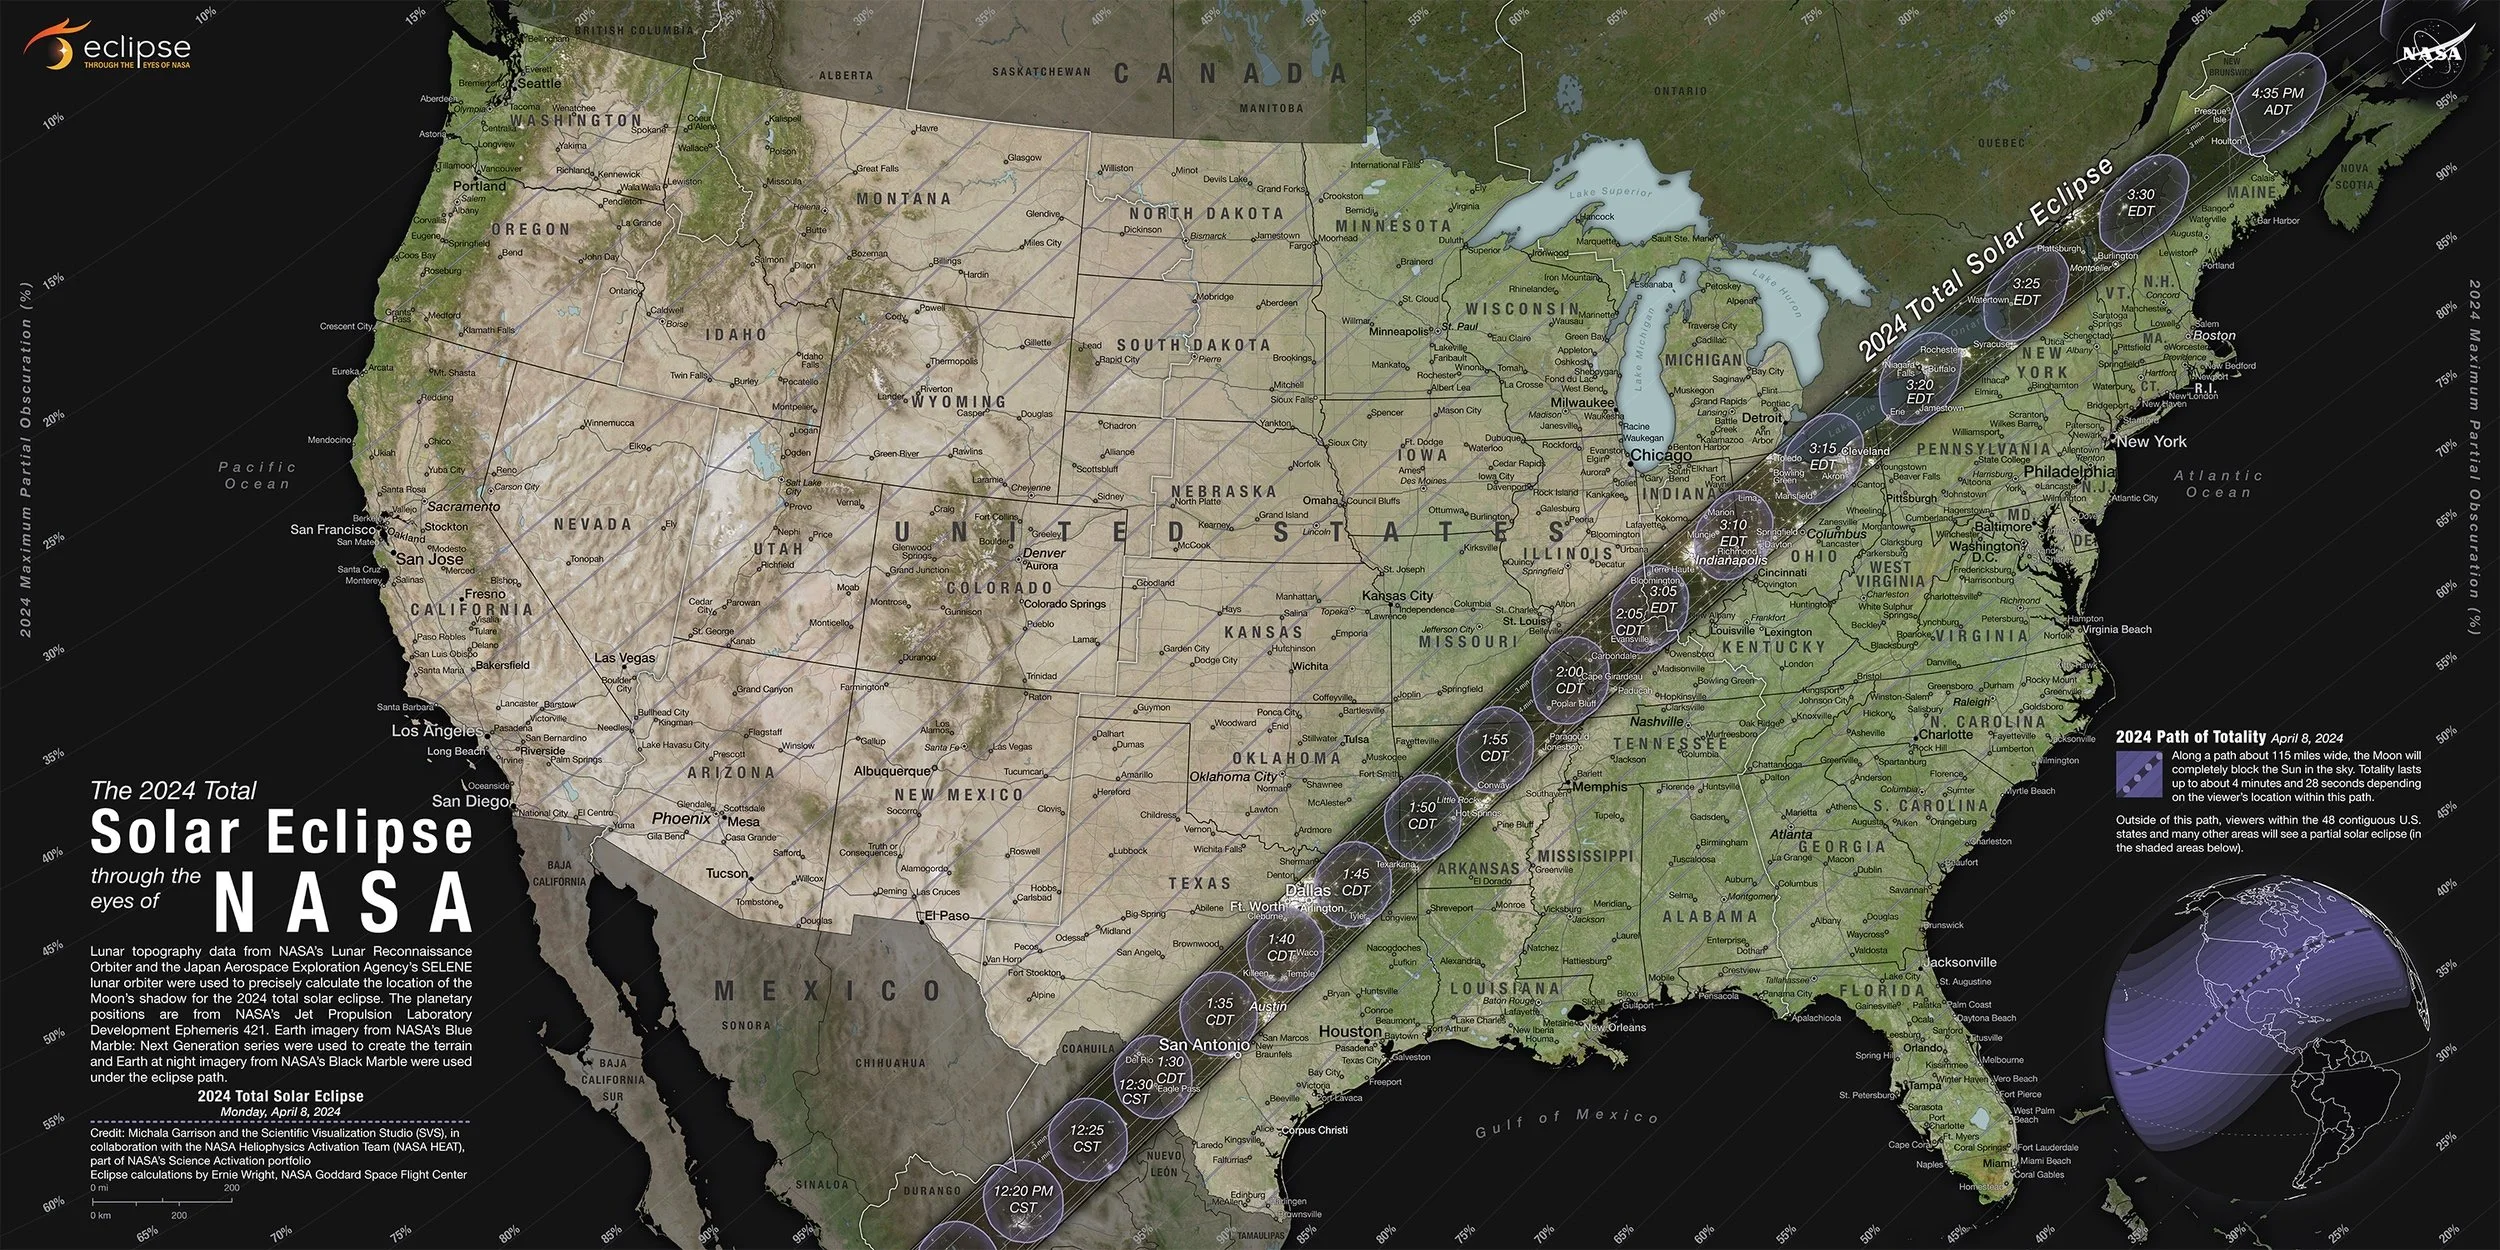
It all started when I saw this image from NASA. The 2024 total solar eclipse was going right over our house in Texas. The weather gurus said the chances of clear skies in April were better than 50%. So a month early, I dusted off the star tracker and my longest telephoto lens.
Having never photographed the sun before, I realized early that I had a few challenges in front of me.
First, the star tracker is designed for tracking stars. That begins with aligning the axis of the tracker on Polaris, the North Star. Since Polaris is always over the North Pole, everything around that axis rotates on the same center as the earth. The tracker then moves the telescope or camera along a “Right Ascension” at the same rate as the earth’s rotation. As long as the “Declination” of the optics are equal to the latitude of the location, stars will appear to be stationary. In other words, the star tracker moves the telescope or camera at the same rate that the earth rotates, essentially freezing the stars in position from the perspective of the lens.
So, the first problem: how do you align on Polaris during the day when you can’t see it?
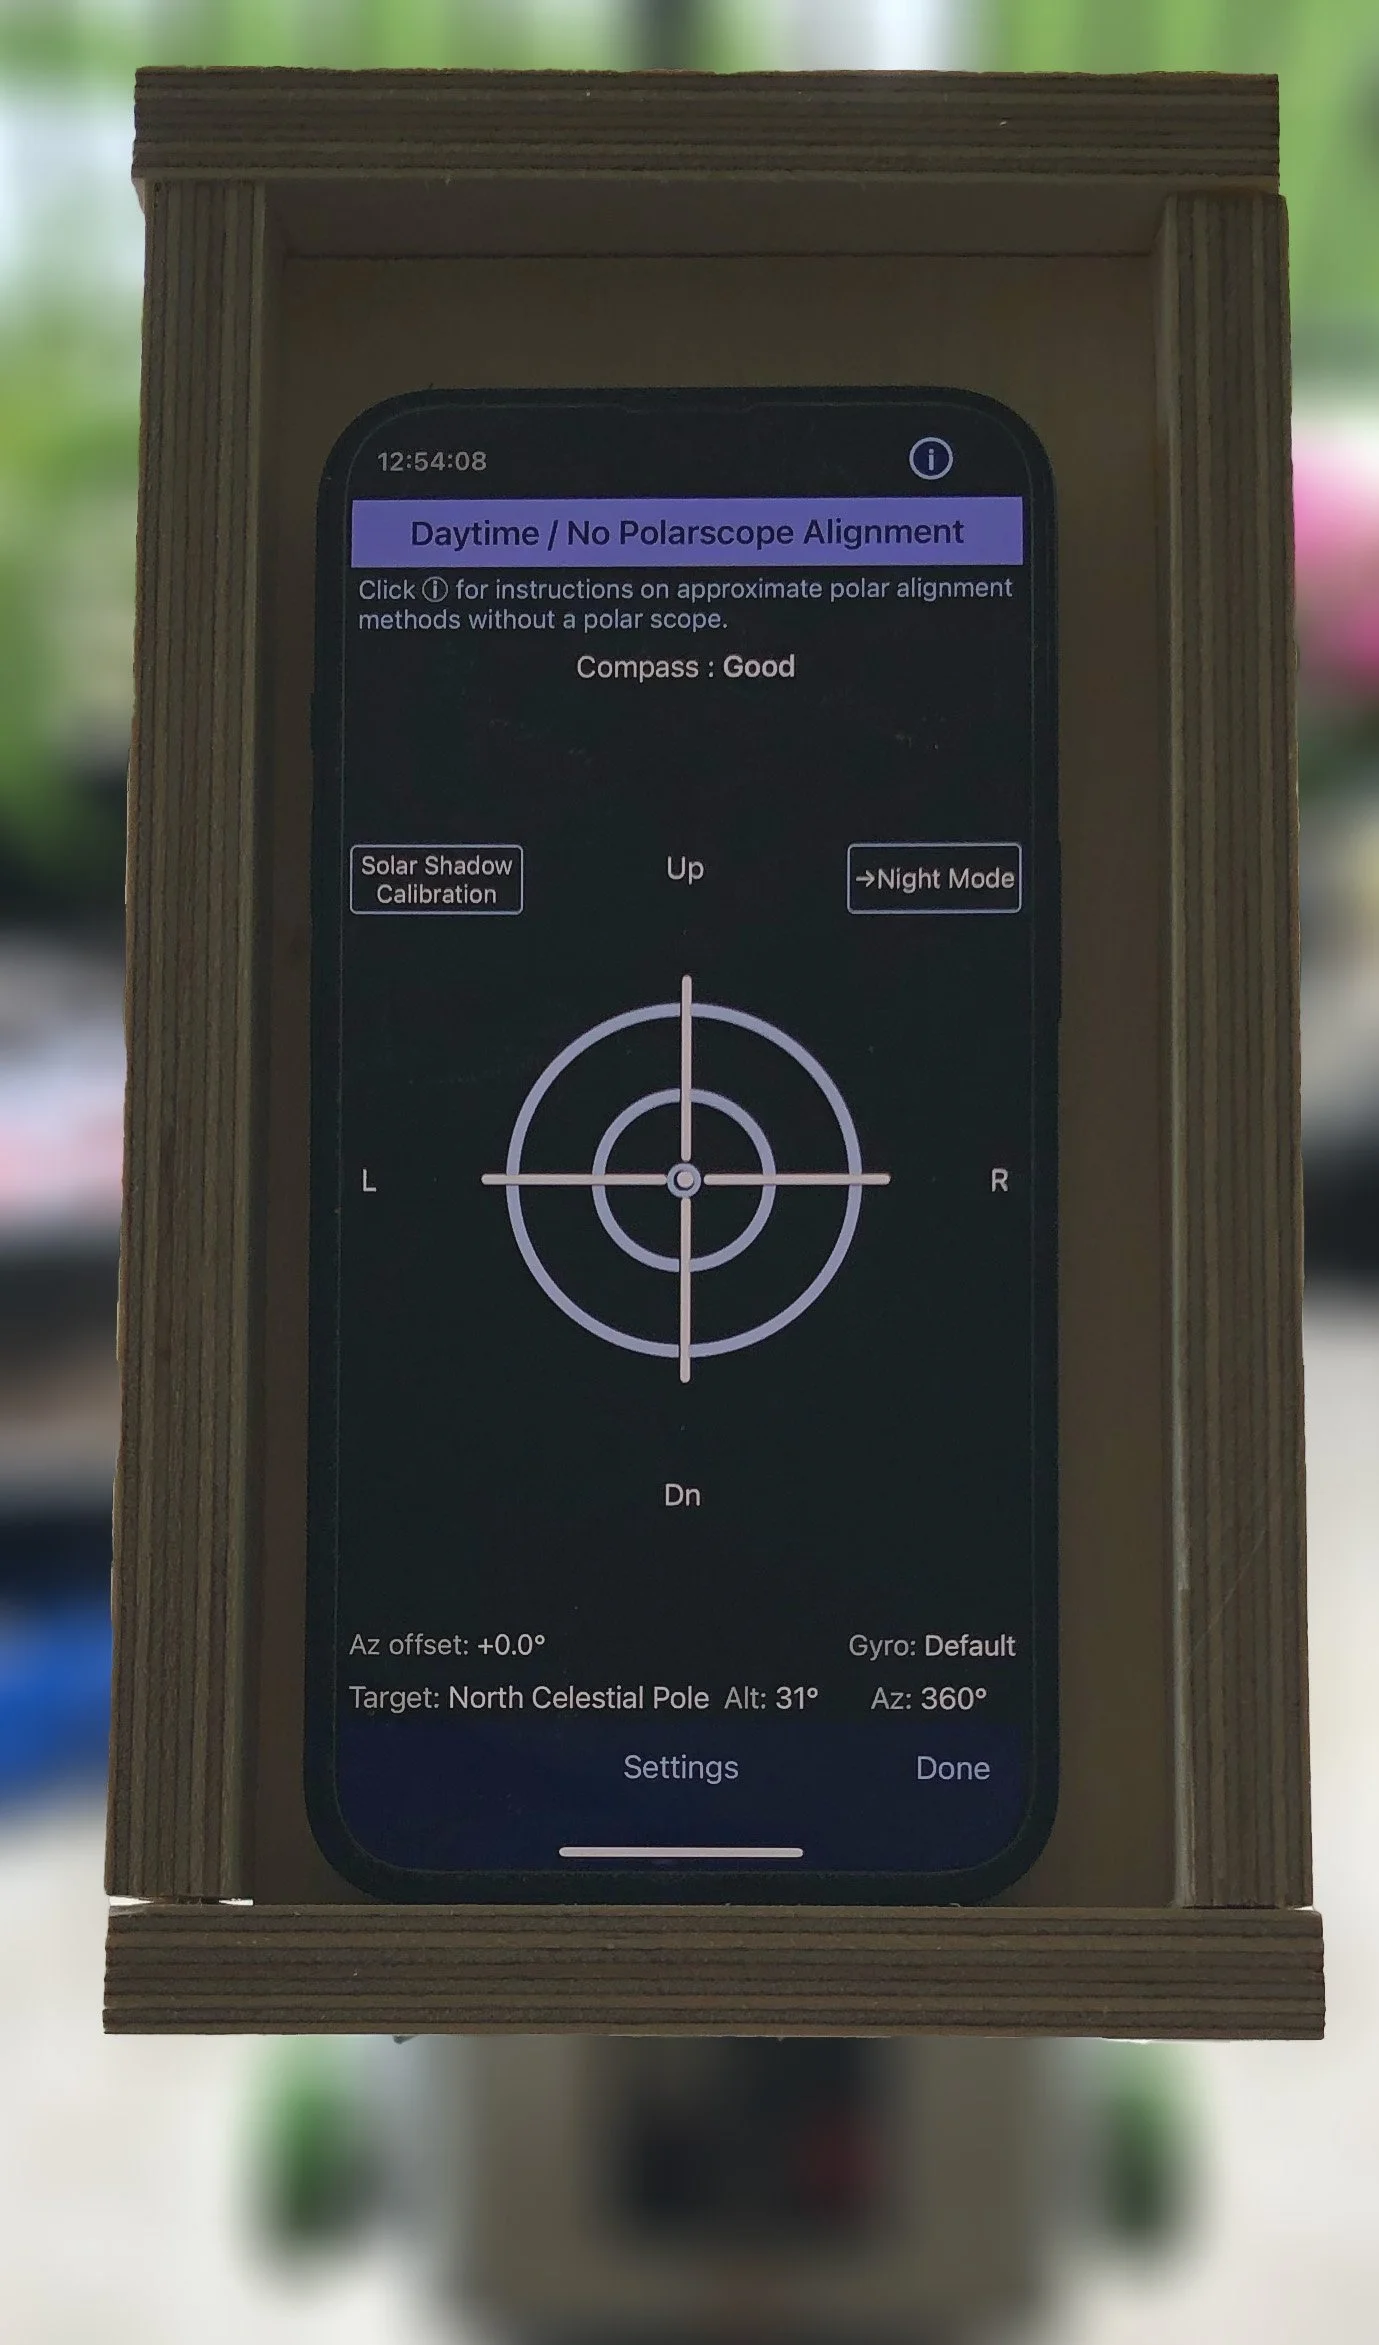
My good friend, Mr. Y. Tube, suggested I download the iPhone App Polar Scope Align Pro which is normally for aligning telescopes at night but does have a daytime option. It uses the phone’s GPS for the declination (latitude) and compass for the Right Azimuth. It also knows the magnetic variation so it will point to True North, and that is where Polaris is.
Most of Mr. Y. Tube’s associates held the iPhone next to the tracker’s mount. I built an iPhone holder for the mount. You simply fire up the App, select the sun icon, and adjust the tracker until it is pointing at where Polaris should be. It seems to work within a few degrees, which is pretty good.
Once you’ve done all that, you tell the tracker to point to a star. Mine has a database of stars that includes our sun. Now for the next problem. The tracker gets within a few degrees of the sun with my camera mounted carrying a 150 - 600 mm lens. Even with the lens wide open at 150 mm, the sun isn’t always in the electronic view finder. I have a 100,000 (16.6 stops) Neutral Density filter to protect the camera sensor and looking through the camera’s digital display protects my eyes. But how do I get the sun into view without actually looking at the sun?
Camera information: One iPhone 8 taking a photo of an iPhone 12.
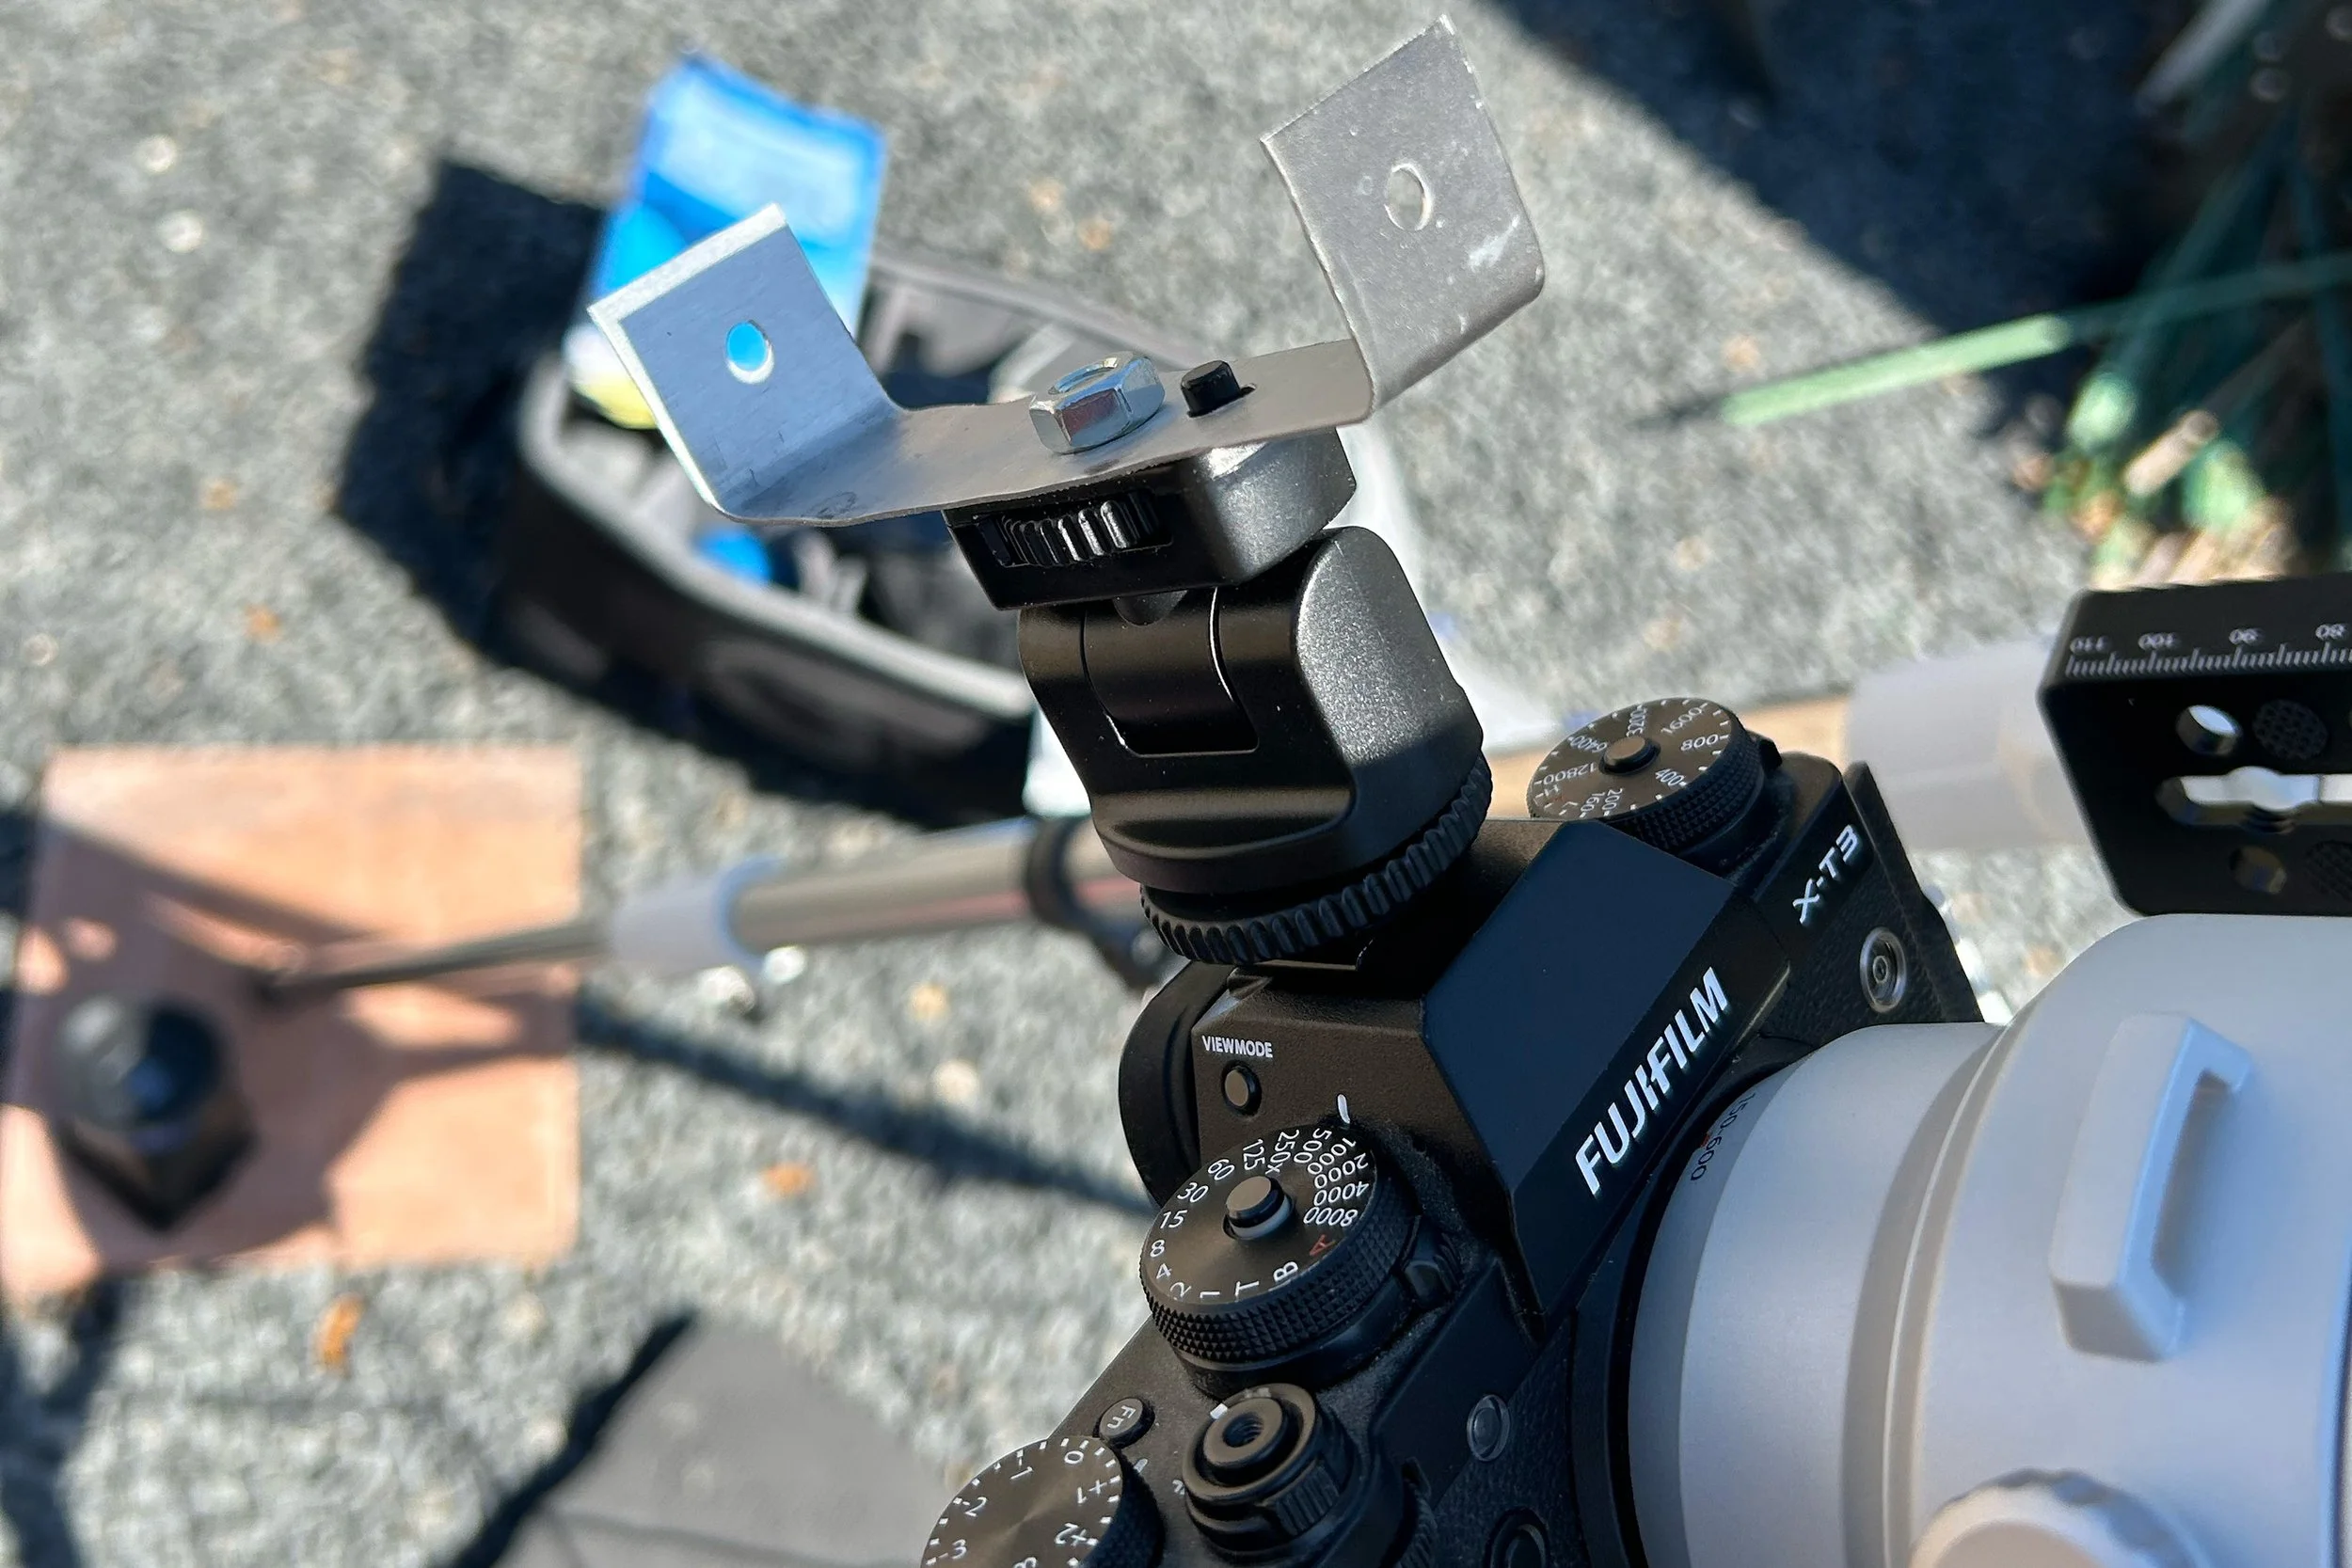
About this time I removed a roof gutter downspout so it could feed into a rain barrel. One of the downspout clamps had a mounting hole on one side that looked perfect. I cut the clamp into a thin strip, bent into shape, drilled another hole, and mounted that to my camera’s flash shoe.
Now I can point the camera so the sun shines into the forward hole and the resulting light hits the second upturned metal. Lining up the light onto that hole gets me close enough to see the sun in the camera’s display. At this point I tell the tracker we are pointed to the sun and it then tracks the sun automatically.
Camera information: iPhone 11 taking a photo of a Fuji XT-3.
March 25 Test
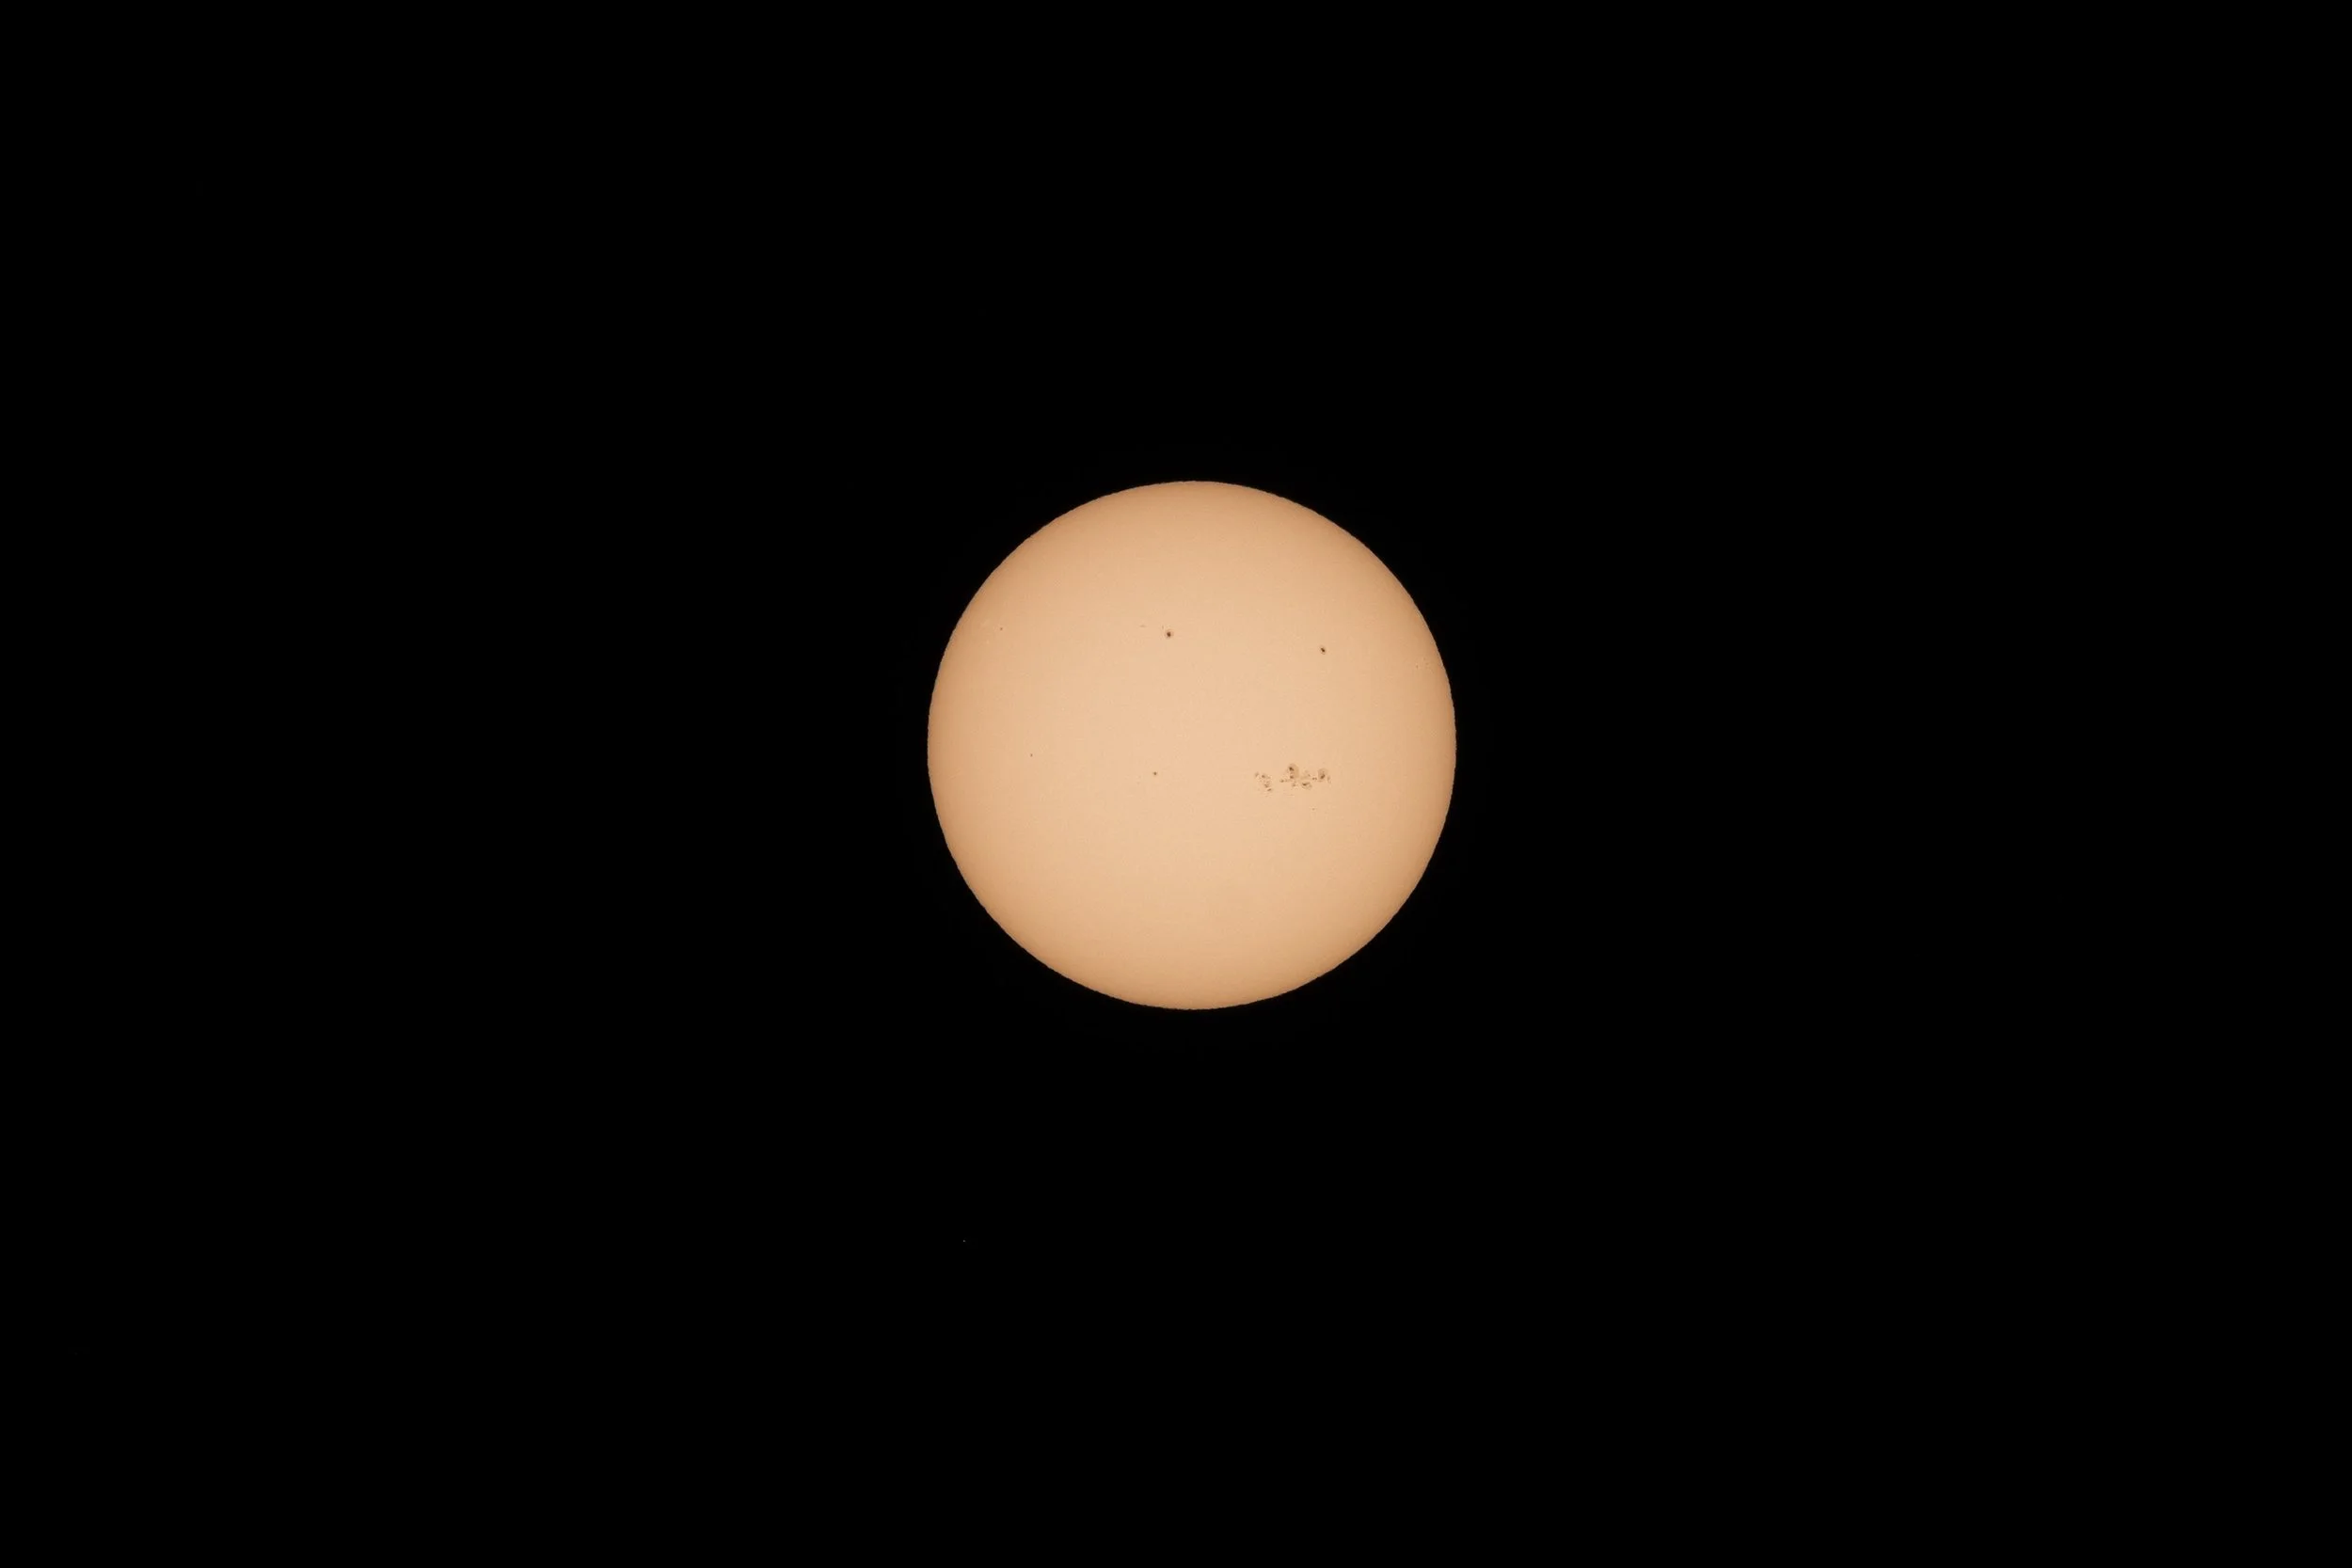
With the sun sighted and tracked, and with my newly purchased solar filter, I managed to reliably capture the sun and sun spots.
I did seven full practice sessions, from a few minutes before “C1” (when the moon first blocks the sun) at 12:17:49, through “C2” (when the moon first fully blocks the sun) at 13:35:36, “C3” (when the moon starts to uncover the sun) at 13:39:26, and “C4” (when the moon’s shadow is no longer in view) at 14:58:27.
What if we have cloud cover on April 8th? My plan was to drive to where it was clear, but local officials predicted the roads would be packed with tourists from all over the country. Our town of 2,000 was expected to swell to 9,000 and the same was predicted all along the path of totality in Texas. So I would either see the eclipse from my house or not at all.
Camera Information: Fujifilm XT-3 with XF 150 - 600 mm lens, ND 100,000 UV/IR filter, 3/25/2024 13:12:19 CST.
Settings: f11, 1/1000, ISO 200, 391.4 mm, cropped to 3000 x 2000 pixels.
Starting a week out, the forecast turned gloomy for April 8th, a Monday. The entire corridor from the Mexican border up to Arkansas would be covered with clouds. The midwest and northeast would have clear skies, we down south would not.
Having spent most of my life not trusting weather forecasts, I continued with my practice. We would experience totality one way or another from our backyard!
1145: set up camera on star tracker facing true north, aligned on best approximation of Polaris.
1200: start automatic shooting 1 shot every 180 seconds at f8, 1/500th second, three shots bracketed -1 / - / +1.
1332: adjust automatic shooting to 1 shot every second, same exposure.
1334:30: shutter 1/250
1334:50: shutter 1/60
1335: shutter progressively slower to 1 second
1337: shutter progressively faster to 1/60
1339: shutter 1/250 for a minute then back to 1/500 and 1 shot every 60 seconds.
We woke up on April 8th to a solid overcast with the same reported along the length of the line of totality in Texas. I set up my cameras in hopes of getting something, anything!
About twenty minutes before C1, when the moon would start to obstruct the sun, the clouds lifted just enough for the sun to peek through.
I managed to zoom into 405 mm and manually focused on a sunspot near the center. You can see the clouds against the sun. I had planned a shutter speed of 1/1000th of a second. Because of the clouds, I had to halve that.
Camera Information: Fujifilm XT-3 with XF 150 - 600 mm lens, ND 100,000 UV/IR filter, 4/8/2024 11:56:58 CST.
Settings: f11, 1/500, ISO 200, 405 mm, cropped to 3000 x 2000 pixels.
The plan was to take a photo every 60 seconds starting a few minutes before C1, but the clouds were too thick to do that. So I set the automatic shutter to fire away knowing I would be getting a lot of very dark clouds. Whenever the clouds thinned, I adjusted the exposure.
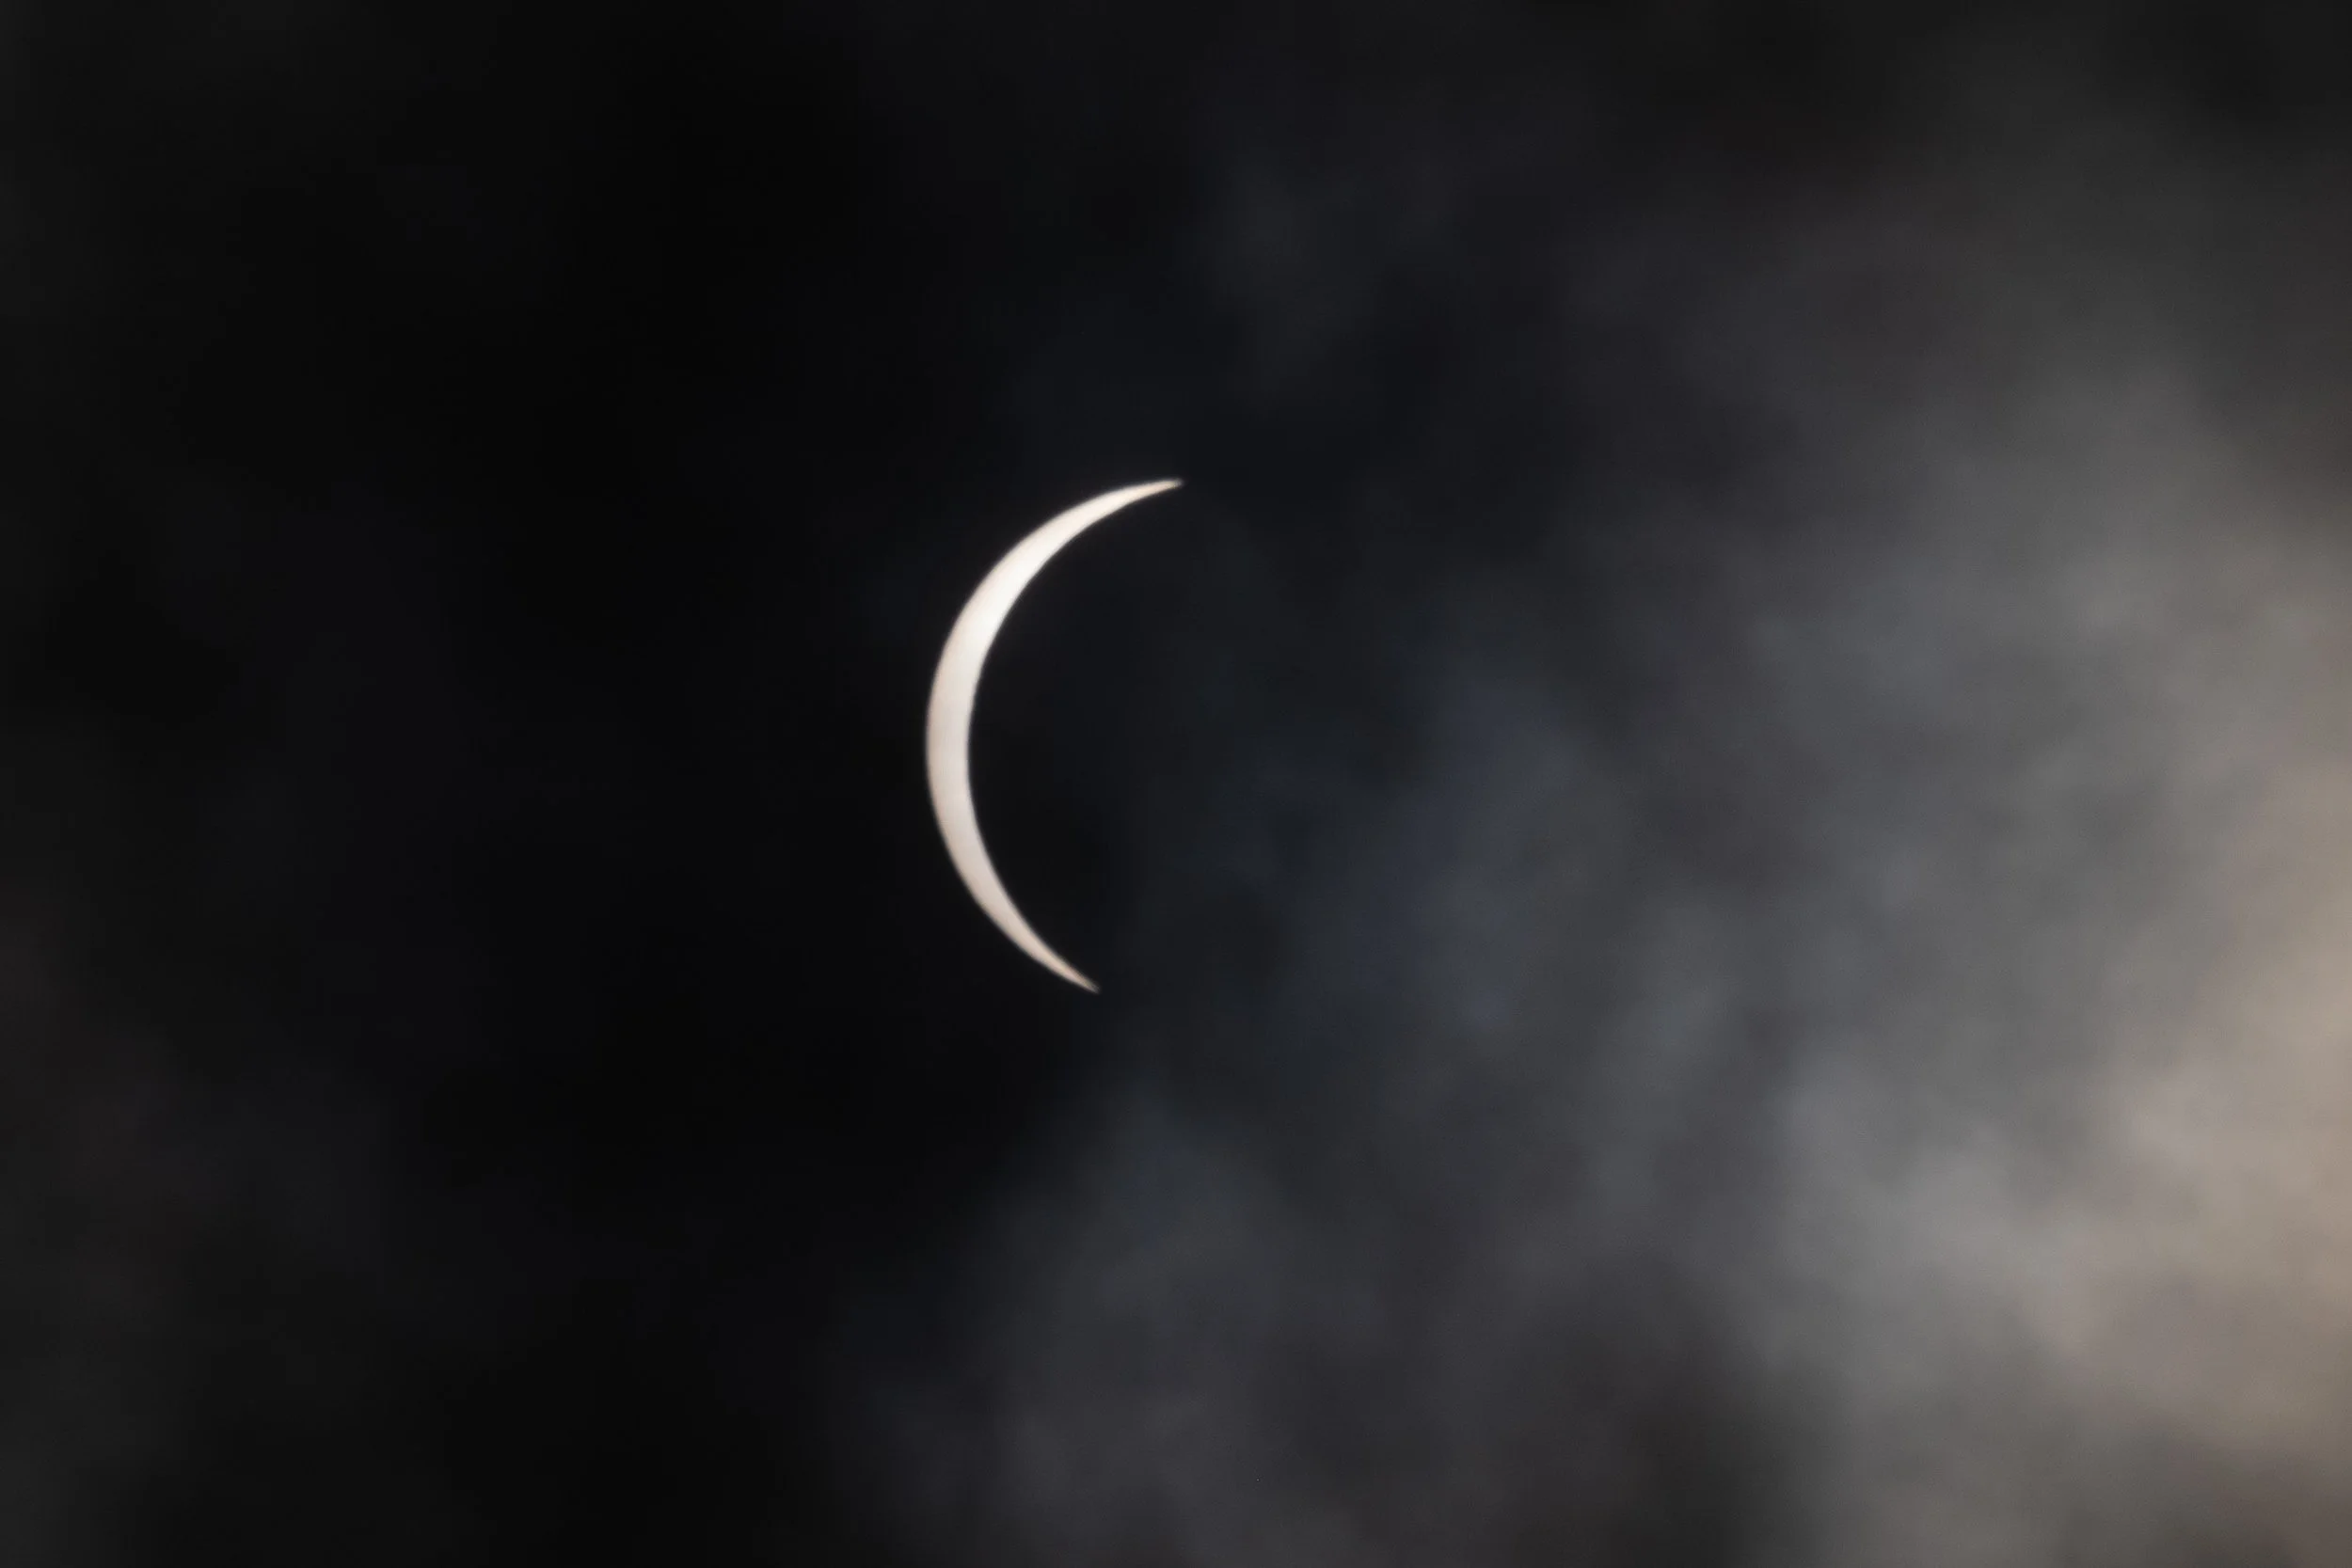
Here you see I’ve got the shutter at 1/250th of a second, a fourth of what I would have needed without the clouds.
Nevertheless, it is a shot of a partial eclipse, so I wouldn’t come away empty handed!
Right about now I was hearing news reports that many of the sites planning on big crowds for visiting solar eclipse viewers were only sparsely populated. It seemed many cancelled their plans based on the weather forecast.
Camera Information: Fujifilm XT-3 with XF 150 - 600 mm lens, ND 100,000 UV/IR filter, 4/8/2024 12:23:01 CST.
Settings: f11, 1/250, ISO 200, 405 mm, cropped to 3000 x 2000 pixels.
Here we are, 11 minutes later, and the clouds have thinned out some more. I was able to cut my shutter speed in half and there were fewer cloude artifacts.
We were able to use our solar glasses and even spot the main sunspot using our eyes. The sun is in what is called “solar maximum” right now. That means there should be more sunspot activity. A solar maximum happens every 11 years.
One of my possible divert locations was Fredericksburg, Texas where a large astrophotography group was meeting. They charged about $2,000 per campsite. I heard they were still covered in thick clouds.
Camera Information: Fujifilm XT-3 with XF 150 - 600 mm lens, ND 100,000 UV/IR filter, 4/8/2024 12:32:54 CST.
Settings: f11, 1/500, ISO 200, 405 mm, cropped to 3000 x 2000 pixels.
About 40 minutes later the skies are still mostly clear but we can see what looks like rain clouds upwind, not good.
The Fujifilm XT-3 is pretty much on autopilot here. It is connected to the tracker which has an intervelometer to press the shutter automatically, once every sixty seconds. It takes three shots each time, one on exposure, one a stop below and a third a stop above.
I also have a Nikon D750 working, but it is purely manual. I have to recenter the sun every few minutes and manually press the shutter. The sun moves across the sky 360° / 24 hours which comes to 0.25° / minute. The sun is 0.5° wide from our vantage point.
Camera Information: Fujifilm XT-3 with XF 150 - 600 mm lens, ND 100,000 UV/IR filter, 4/8/2024 13:07:27 CST.
Settings: f11, 1/500, ISO 200, 405 mm, cropped to 3000 x 2000 pixels.
A thin layer of broken clouds persisted, but with less than six minutes to go, I removed the filter and increased the shutter speed to 1/2000th of a second.
This is C2 - 6 minutes. They say a digital camera’s sensor can survive a few minutes before totality without the filter. So I jumped the gun. After I took this photo I replaced the filter and removed it only to take a shot.
At C2 - 30 seconds I removed the filter for the duration of totality.
Right about now the temperature took a dip and the birds started singing their evening songs.
Camera Information: Fujifilm XT-3 with XF 150 - 600 mm lens, no filter, 4/8/2024 13:29:22 CST.
Settings: f11, 1/2000, ISO 200, 247 mm, cropped to 3000 x 2000 pixels.
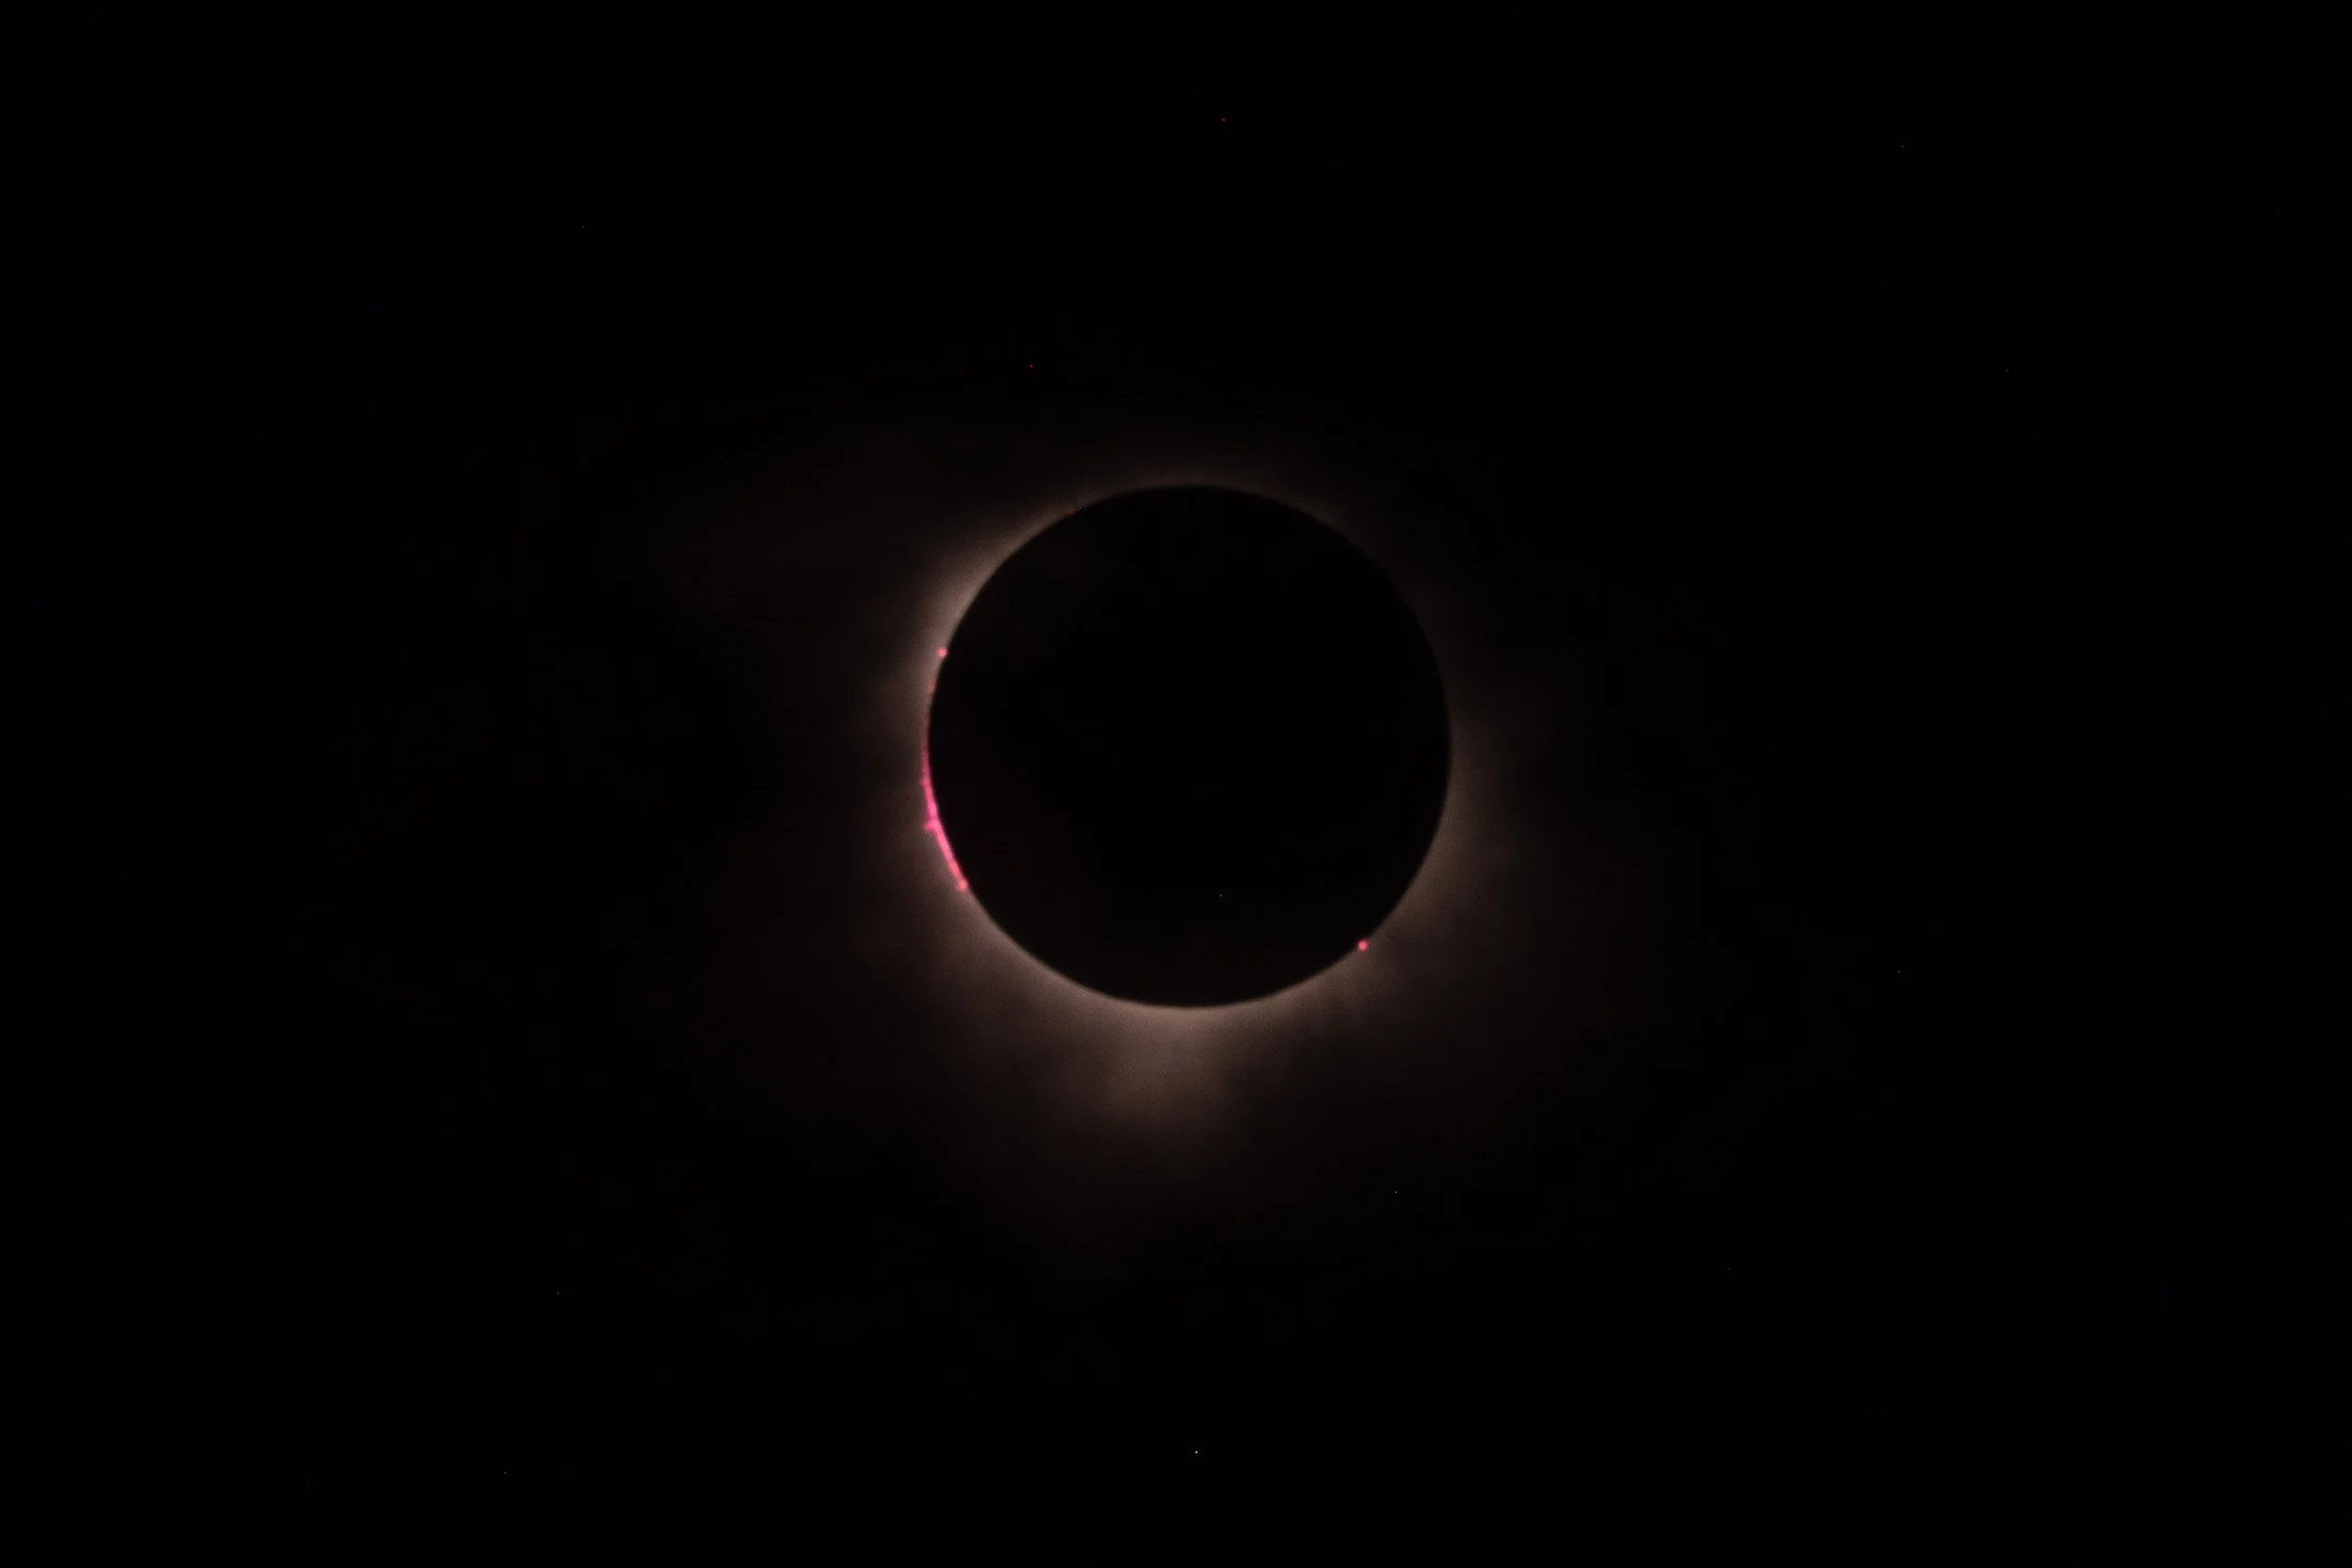
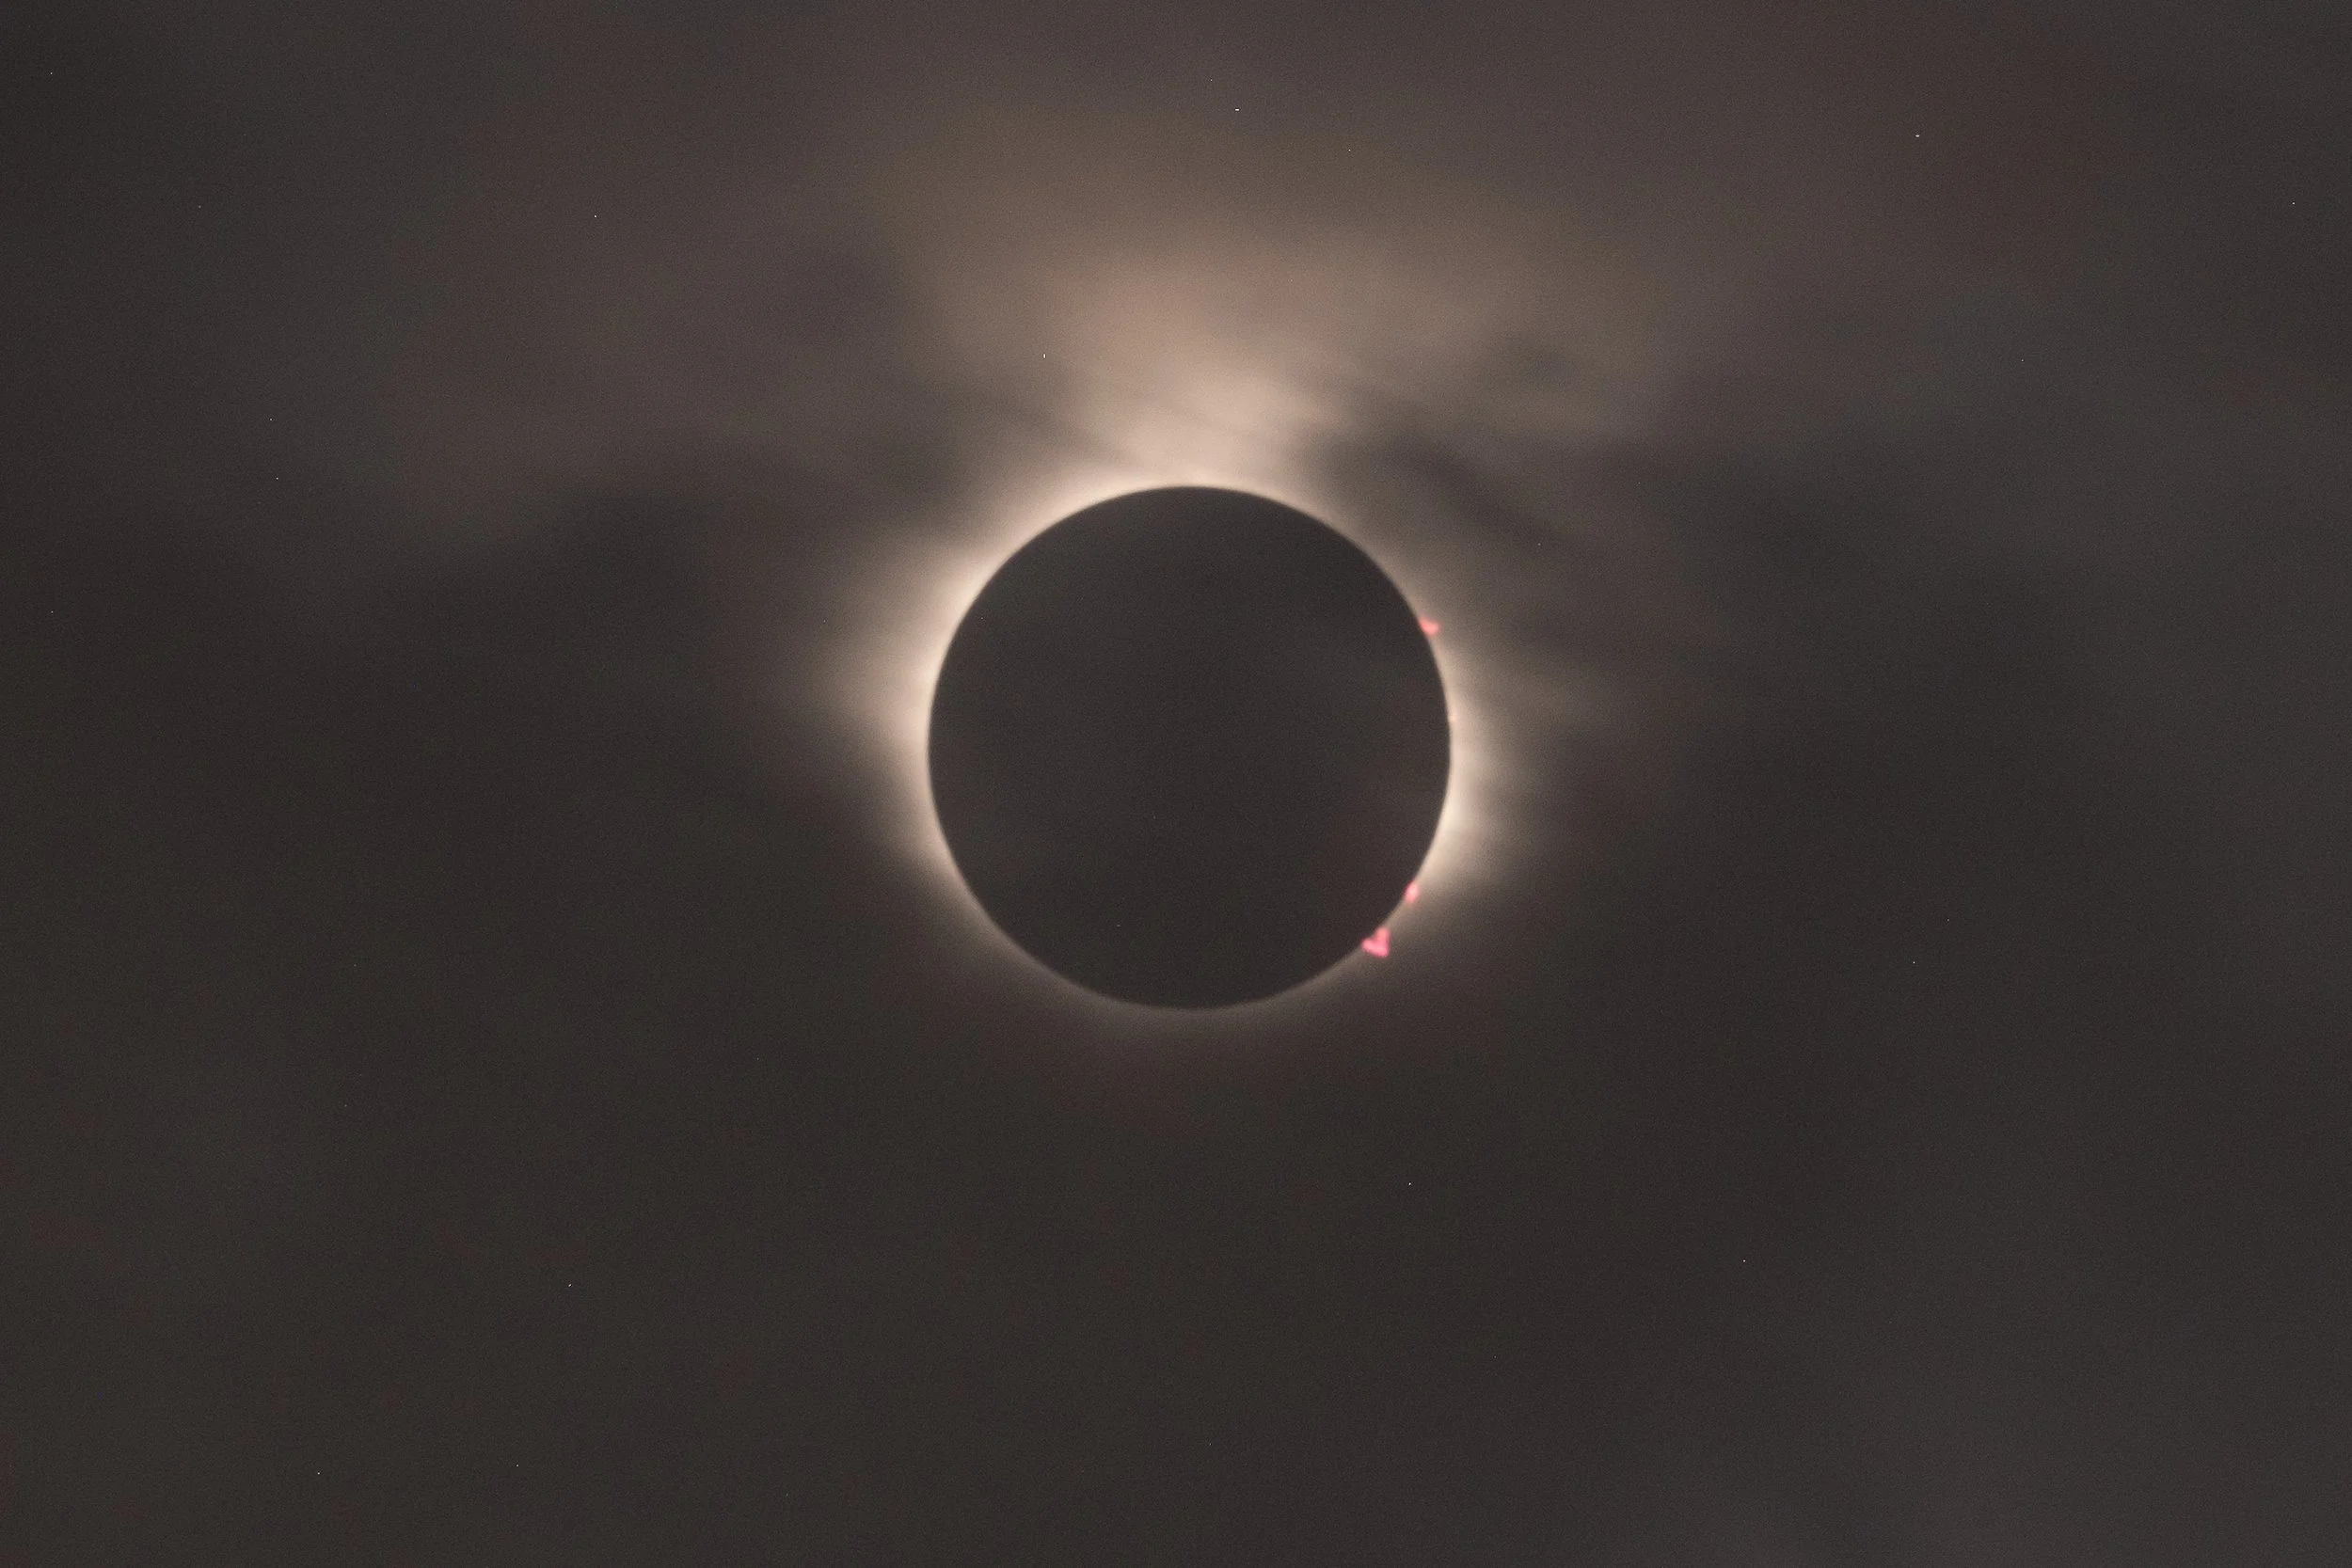
C2! Well, C2 - 9 seconds.
The moon now completely covers our view of the sun.
The red flares around the moon are plasma “prominences” shooting out from the sun. Technically, they are filaments of plasma and magnetic fields, extending from the sun’s surface, often in a loop. They are always there, but the sun itself outshines them. With the moon blocking the sun itself, we can see the prominences. I was expecting to see them through the telephoto lens, but not with my unaided eyes. But I saw them!
Camera Information: Fujifilm XT-3 with XF 150 - 600 mm lens, no filter, 4/8/2024 13:35:28 CST.
Settings: f11, 1/30, ISO 200, 247 mm, cropped to 3000 x 2000 pixels.
C2. The NASA map shown at the top of this page gives exact times for any location on the map and since I had the camera automatically shooting three photos every second at this point, I managed to capture a shot at the exact moment the moon first fully blocked the sun.
Unfortunately, the clouds got a little thicker and the shot isn’t as good as I had hoped for. The jagged edges of the moon are known as ‘Bailey’s Beads,” named after astronomer Francis Bailey. He noted that the craters of the moon could be seen on the edges through the bending sunlight, but only right at C2 and C3.
Camera Information: Fujifilm XT-3 with XF 150 - 600 mm lens, no filter, 4/8/2024 13:35:31 CST.
Settings: f11, 1/4, ISO 200, 247 mm, cropped to 3000 x 2000 pixels.
This is known by some as “Max Eclipse,” the midpoint between C2 and C3.
I was shooting at 405 mm for the partials and zoomed out to 247 mm for totality, in hopes of getting a large corona. The corona is only visible to us on earth during totality in a total solar eclipse. As you can see here, the cloud cover obscured most of the corona.
Camera Information: Fujifilm XT-3 with XF 150 - 600 mm lens, no filter, 4/8/2024 13:37:31 CST.
Settings: f11, 1/30, ISO 200, 247 mm, cropped to 3000 x 2000 pixels.
I did have a backup camera positioned during all this. It is technically a better camera because it has a larger sensor and “faster” lens, meaning it accepts more light. I was worried it was too heavy for my star tracker, so it was demoted to backup, mounted on a standard tripod.
Going through the shots, I found a series of three shots that I was able to stack. Stacking is the process of overlapping photos to bring out the best of each. So I got some of the corona after all.
Camera Information: Nikon D750 with 28 - 300 mm lens, no filter, 4/8/2024 13:37:31 CST.
Settings: f11, three photos stacked (1/20, 1/30, 1/125) ISO 250, 300 mm, cropped to 3000 x 2000 pixels.
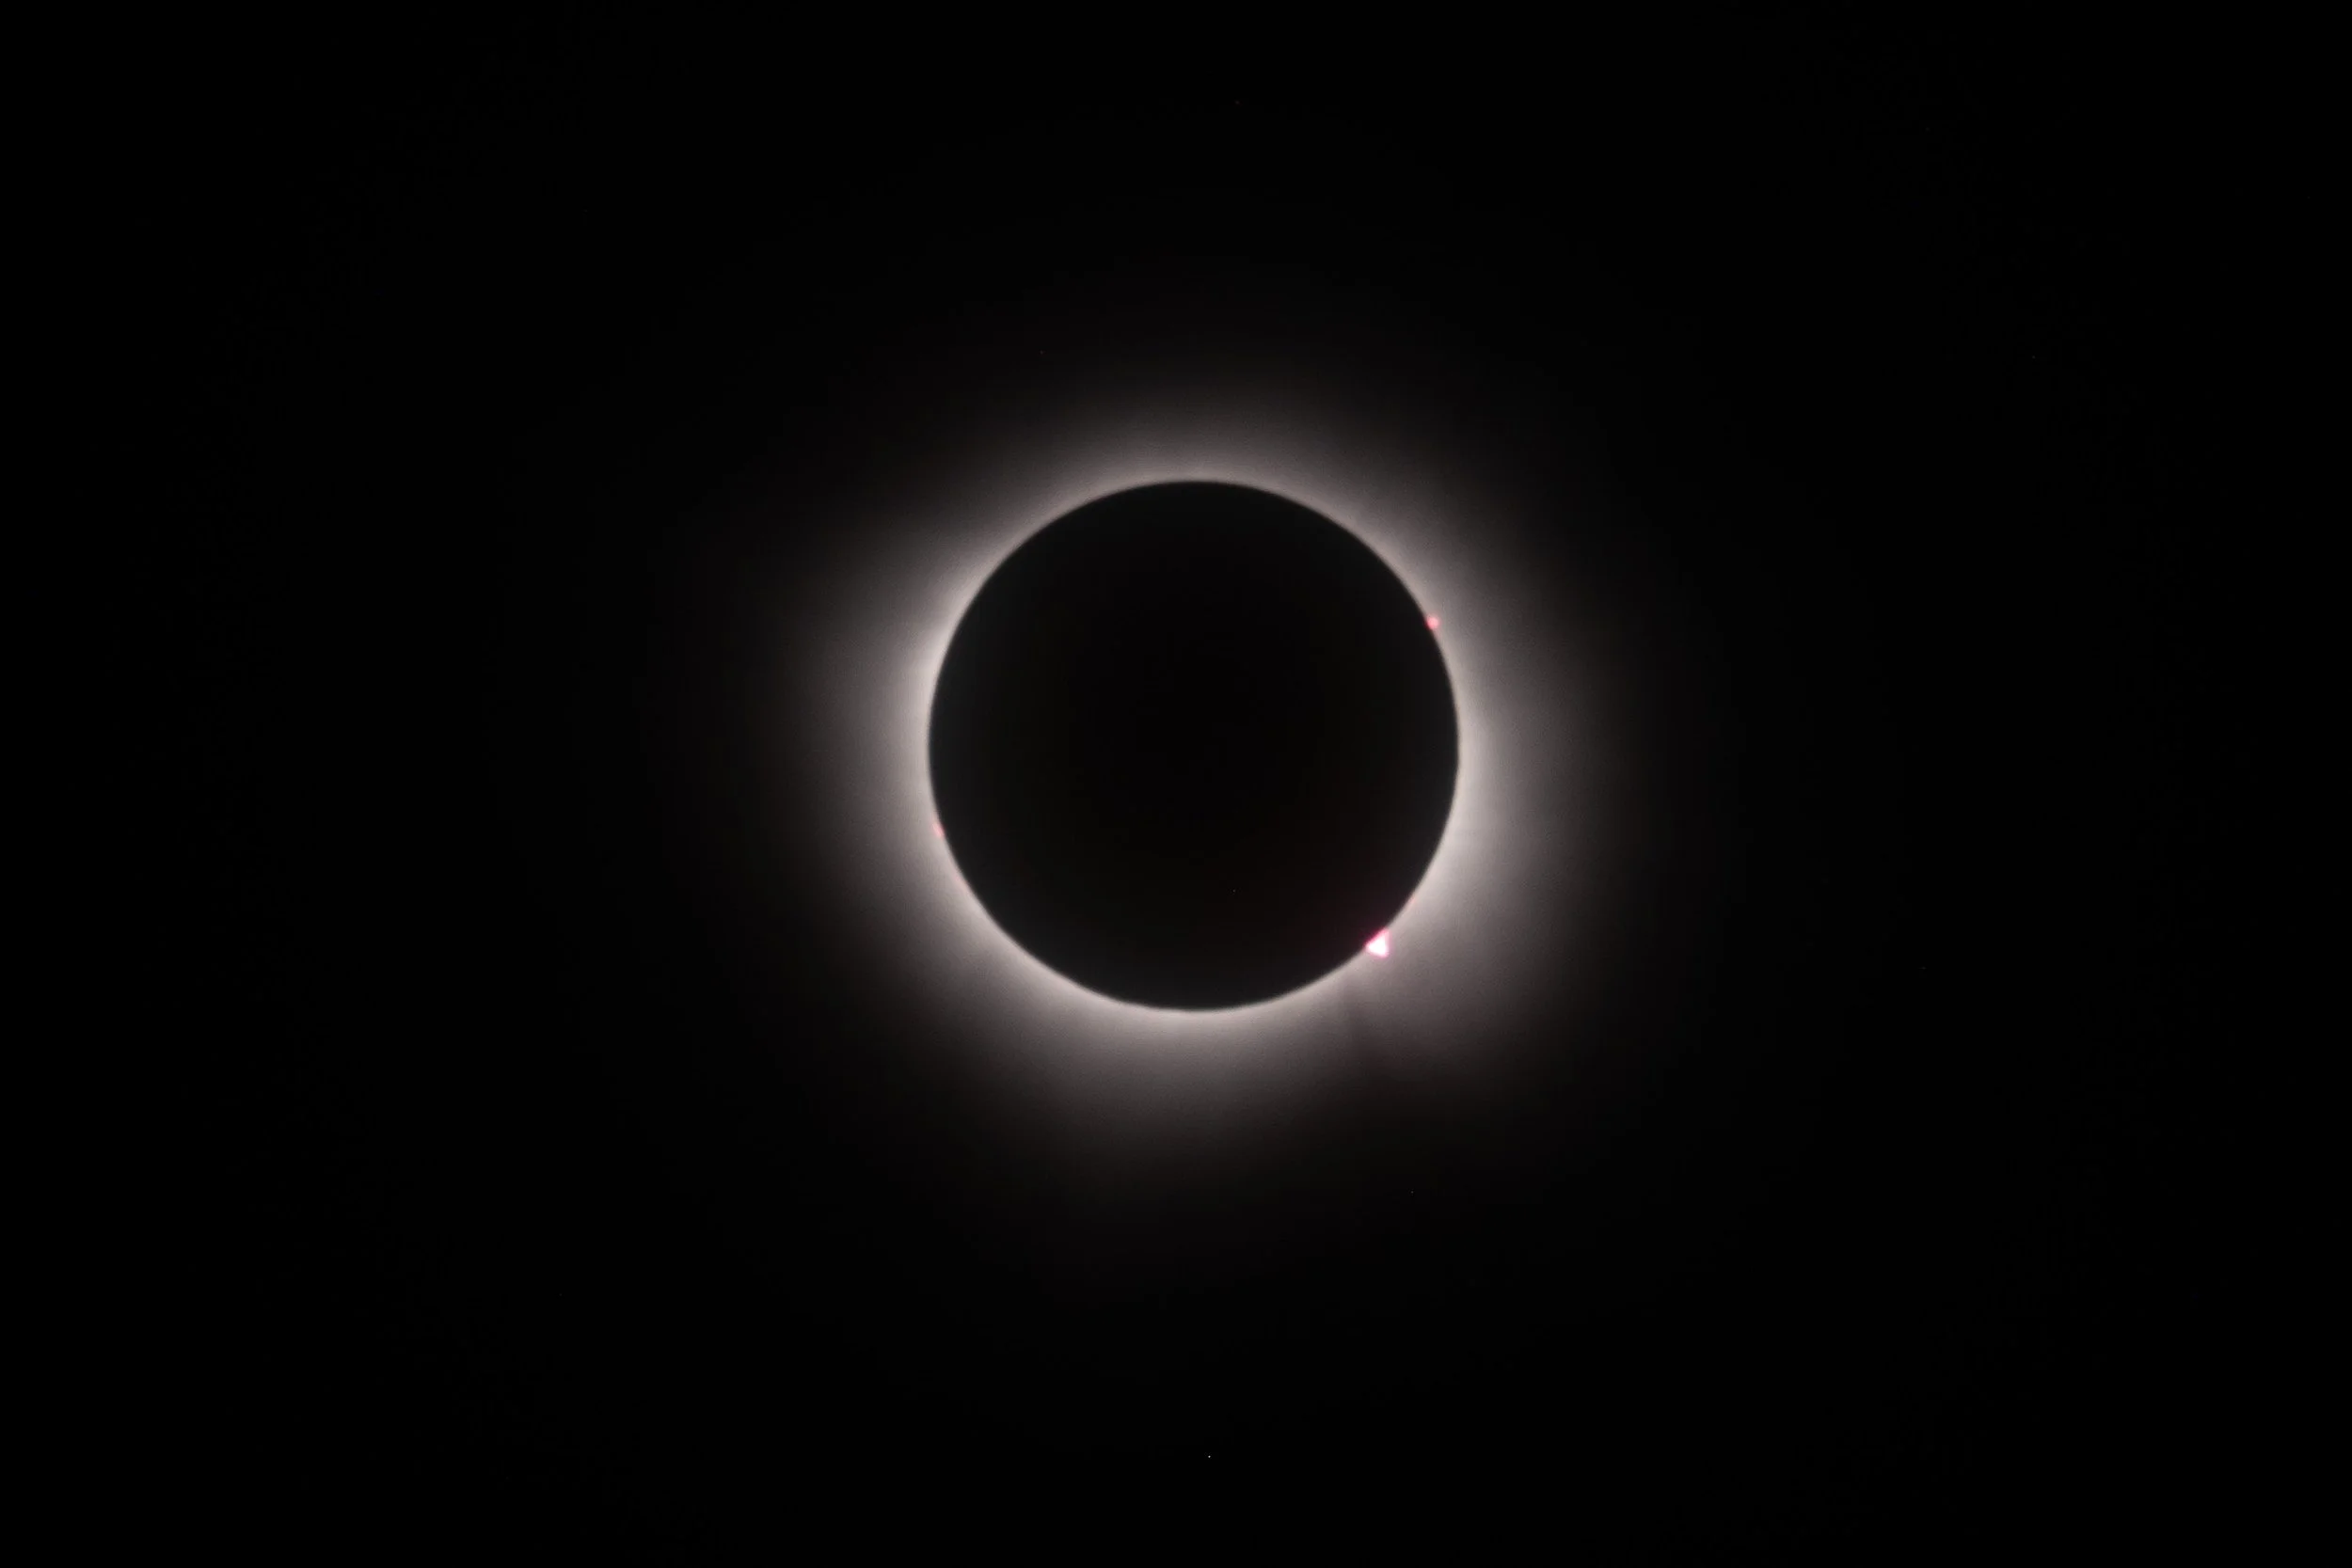
C3 - a few seconds.
The clouds got thicker for C3 but the prominences showed up clearly along with the clouds.
At this point I realized I had checked off everything I wanted to see, except one. As the moon first fully covers the sun, and again when it first uncovers it, the sun can shine brightly over one side with a ring around the rest. This is known as the “Diamond Ring” effect. I didn’t see this at C2. One more chance . . .
Camera Information: Fujifilm XT-3 with XF 150 - 600 mm lens, no filter, 4/8/2024 13:38:46 CST.
Settings: f11, 1/2, ISO 200, 247 mm, cropped to 3000 x 2000 pixels.
C3 - exactly.
The clouds were getting thicker but the strength of the “Diamond RIng” was unmistakable.
We saw this with our eyes unaided. This was also the last time we could look at the sun without wearing protective glasses, or at least that is what we are told. But, as we will see, that isn’t exactly true.
Camera Information: Fujifilm XT-3 with XF 150 - 600 mm lens, no filter, 4/8/2024 13:39:26 CST.
Settings: f11, 1/8, ISO 200, 247 mm, cropped to 3000 x 2000 pixels.
C3 + 7 minutes.
Now the moon exits and we see the sun again, albeit through a layer of clouds which were getting thicker.
Camera Information: Fujifilm XT-3 with XF 150 - 600 mm lens, ND 100,000 UV/IR filter, 4/8/2024 13:46:36 CST.
Settings: f11, 1/1000, ISO 200, 247 mm, cropped to 3000 x 2000 pixels.
C3 + 25 minutes.
Now the cloud cover is complete, but the view is still pretty good.
Camera Information: Fujifilm XT-3 with XF 150 - 600 mm lens, ND 100,000 UV/IR filter, 4/8/2024 14:04:08 CST.
Settings: f11, 1/800, ISO 200, 405 mm, cropped to 3000 x 2000 pixels.
C4 - 19 minutes.
Now the clouds are thick and those approaching are even thicker. This was the last usable shot for the day.
Camera Information: Fujifilm XT-3 with XF 150 - 600 mm lens, ND 100,000 UV/IR filter, 4/8/2024 14:39:02 CST.
Settings: f11, 1/125, ISO 200, 405 mm, cropped to 3000 x 2000 pixels.
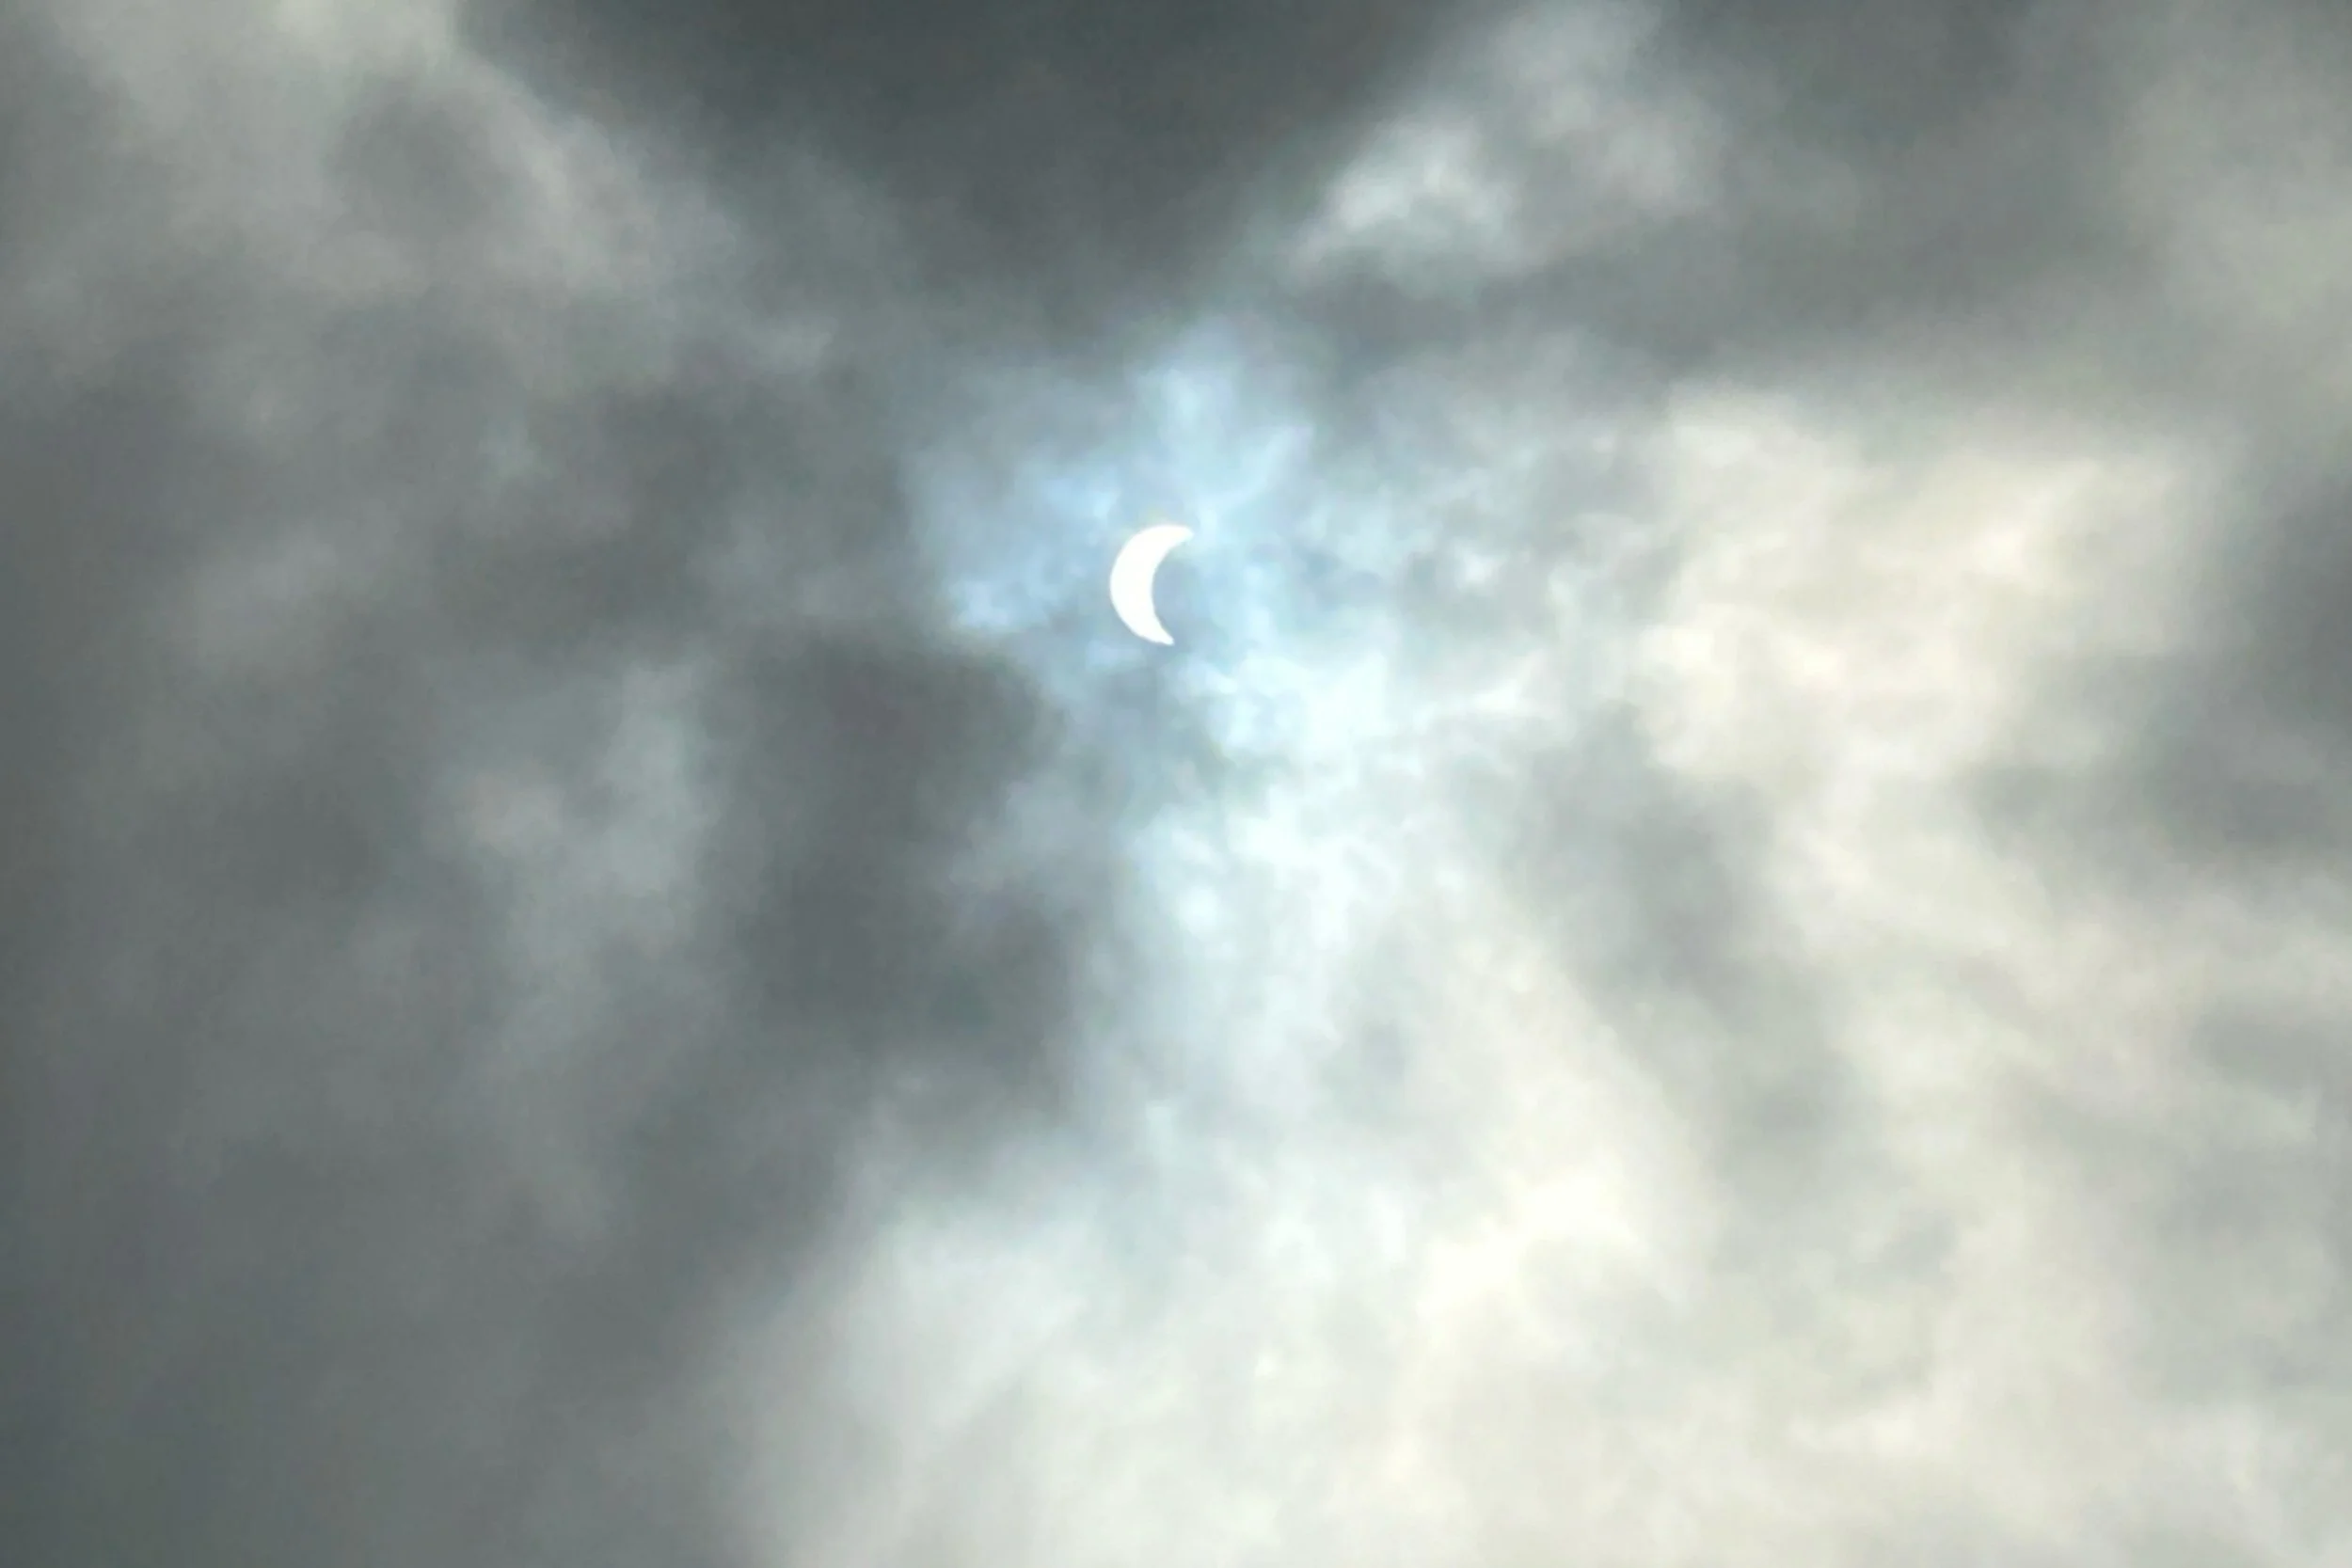
In case you were wondering if you could have got these kinds of shots with your iPhone camera, the answer is “maybe.”
The sun is just too bright to get a full shot on a clear day without it overexposing. But there are exceptions. You can, for example, get a nice sunset shot because the sun is being filtered through a lot of atmosphere. (Due to the angle.)
Another exception is through clouds. I took this shot after C1 so I could text my children to get ready to run outside for totality.
Camera Information: iPhone 12.
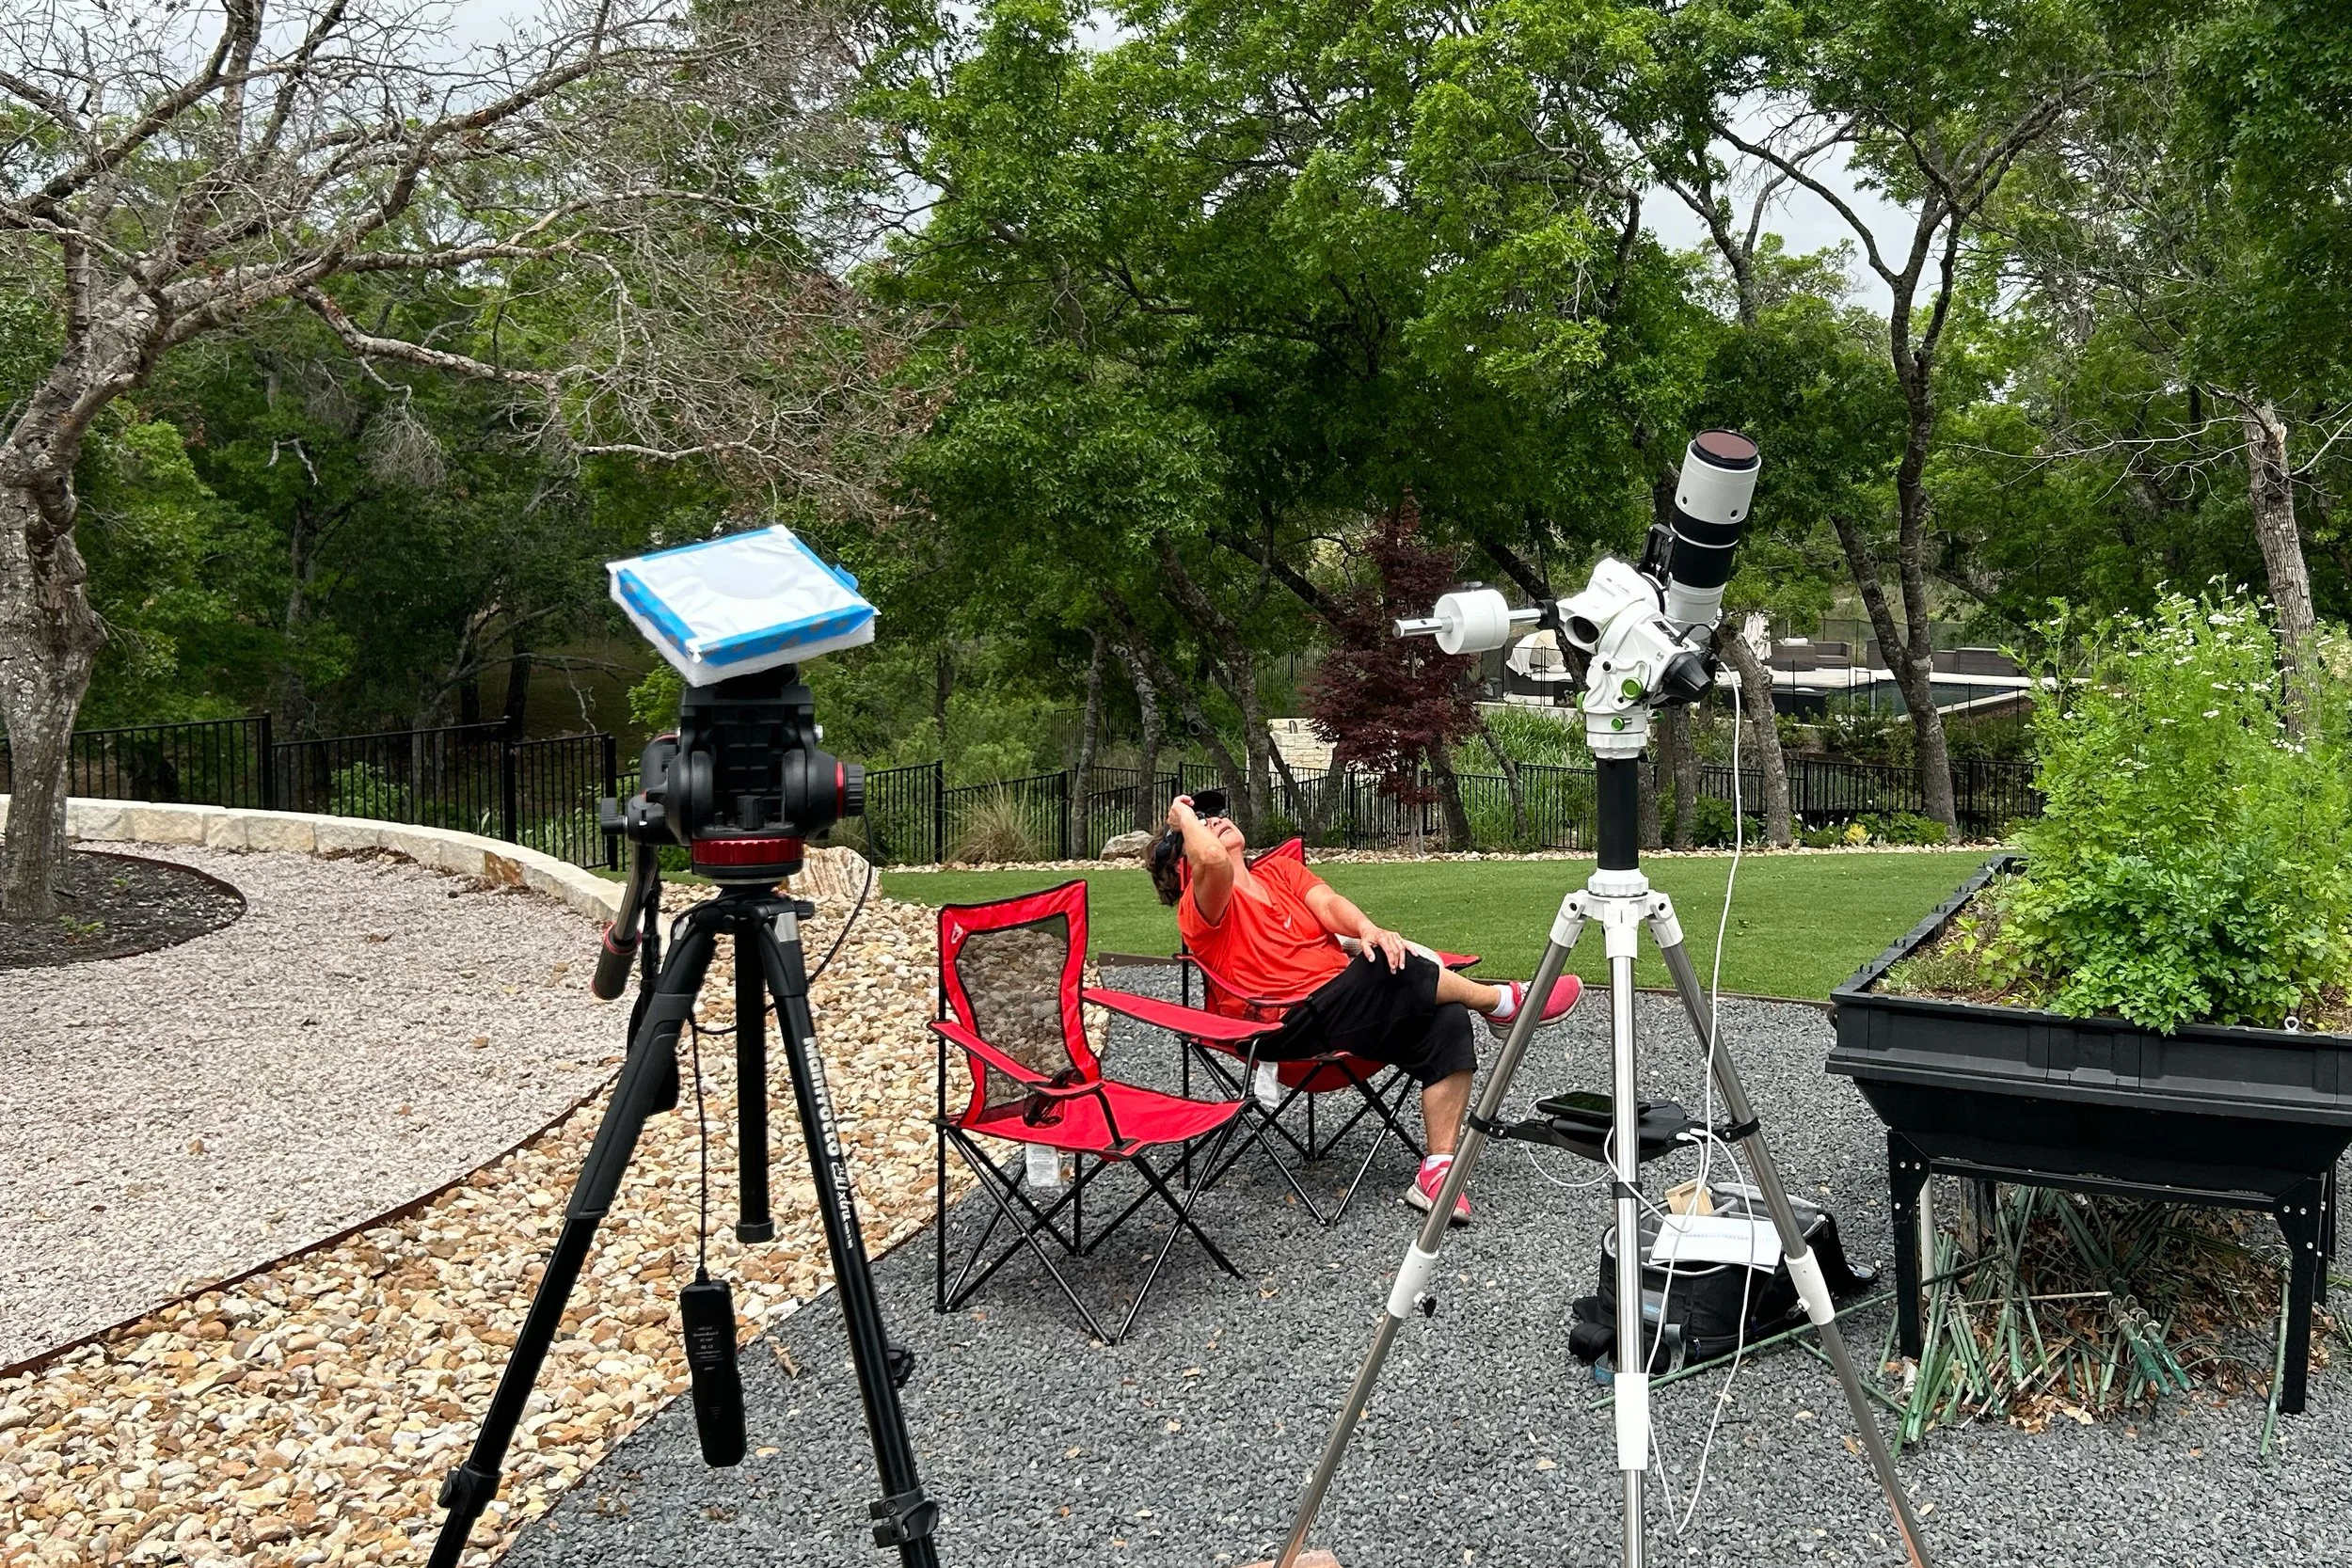
Here is the set up somewhere before C2. On the left is the Nikon D750 on a tripod. The silver thing on top is a homemade solar filter made of styrofoam and solar film. The wire dangling below is a remote shutter release. on the right is the Fujifilm XT-3 on a Sky Watcher Star Adventurer GTi. The various wires are battery cables.
Camera Information: iPhone 12.
I took all these images but there is one bit of fakery: the last shot of the full sun is actually the first shot duplicated and darkened. Just prior to C4 the clouds finally won their battle and the sun retreated for the rest of the day.
As it turned out . . .
Most of the large solar eclipse parties south of us reported very limited viewing, some not getting any of the total eclipse at all. Nort of us did better, but not much. It seems our town got lucky. A month earlier Texas was supposed to be the best location along the path, with chances getting worse as you go north. But it seems the midwest did the best and the northeast did okay. The news interviewed a couple who flew into Dallas, didn’t like their chances and flew up to Boston and drove to Maine. While astronomers have solar eclipse timing down to the second, meteorologists are still only providing best guesses.
Lessons learned . . .
Practice early and often to work out shortcomings in equipment and procedures.
Meteorology: forecasters tend to err on the side of pessimism and their forecasts are meant for large areas. Exceptions abound.
Always have a Plan B, C, and so forth.
Evaluate options at crunch time, it could be that Plan A is the way to go.
No plan survives the enemy, you might have to call an audible at the last moment.
Technology: automation works but there are times the old fashioned way is the right answer.
